Hello,
I feel we have reached the slow days of summer when Mother Nature really does her magic. I have noticed on my walks changes especially in the trees. Hickories, pines and oaks all have immature versions of the seeds to come in fall. Because of all of the rain we have experienced here, I think the apples will be really big this year because the green ones on the trees now are already bigger then gulf balls. Nature provides me with a visual feast each day. 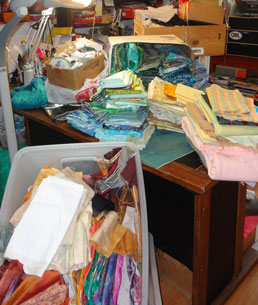
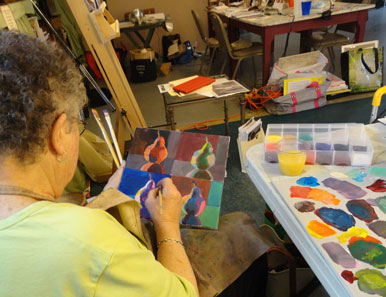
I am getting ready to attend the Quilting By the Lake conference. I so look forward to seeing my friends and to getting stimulated by lots of new ideas and thoughts about the art of quilting. In preparation for that work I had to do a bit of sorting. One thing lead to another and I ended up pulling all the fabric out of the closet and refolding and stacking it. This shot shows the job as it neared completion. As you can see I have lots of fabric. This activity not only cleaned up the shelves, and sorted out the material that I need for my projects, but it also made me realize I do not need to purchase anything new. I hope I can stay to that resolution over the next two weeks while I am there and tempted by the fabrics of the venders. I am doing two weeks of Independent study this year and I plan to keep working on the Rocks and Canyon series. I will allow my self to find other ideas as well. Please be aware that there will not be any posts for the two weeks of QBL. Then we plan on a little vacation so this will be the last post until Aug 8.
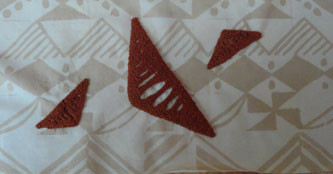
18″ X 24″
$ 110.00
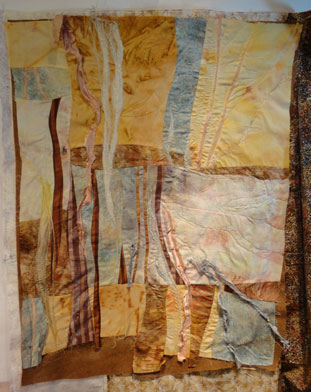
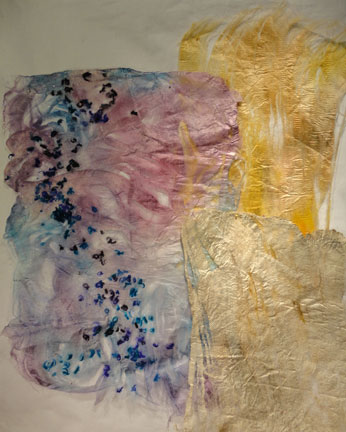
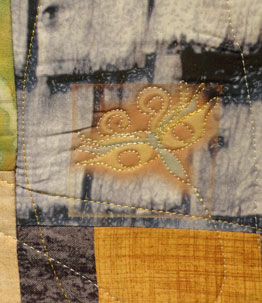
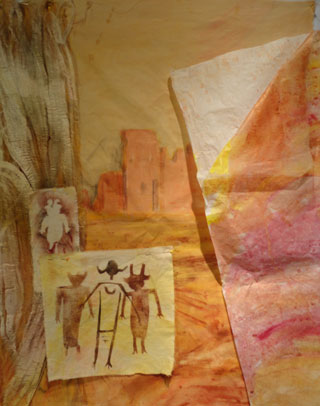
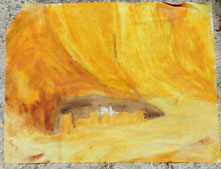
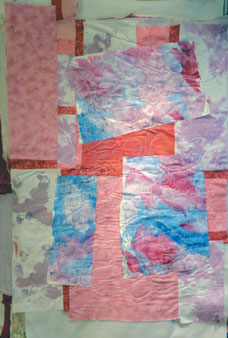
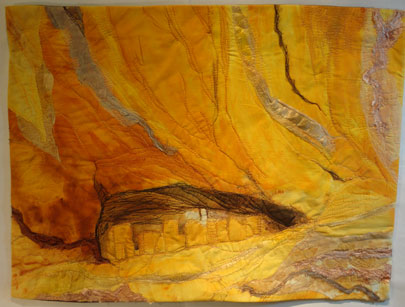
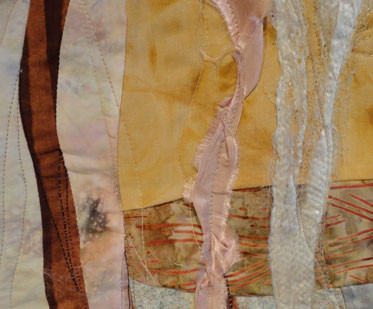
Progress Report: Anastazi Ruins
This work is complete now. I have really enjoyed putting the silk paper into this work. It makes the feel of the flow of the rocks really work for me.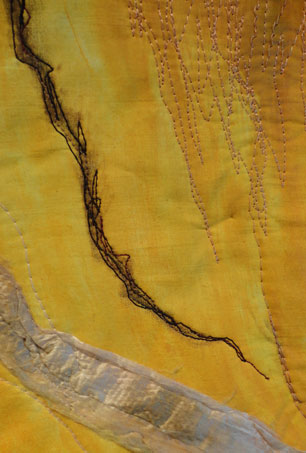 I liked doing the free motion work to add texture to the surface too. The other thing I tried here and on the Sunny Crannies quilt was adding torn strips of satin to the surface. The strips were slender so they folded in on them selves and they flipped over that also added to the textural changes that were created.
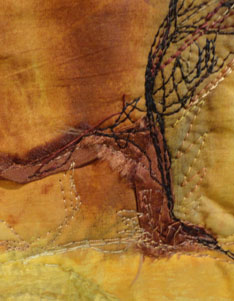
 I ended up not using the painted unit I posted last week on the ruins. It was just too much. But I did add nylon net to the top of the cave area to help with the darkness.

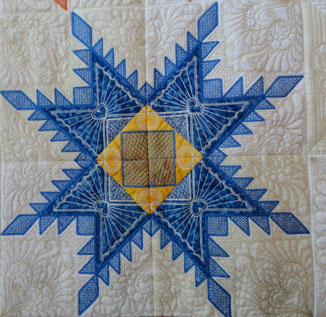
22.5″ X 31″
$ 175.00
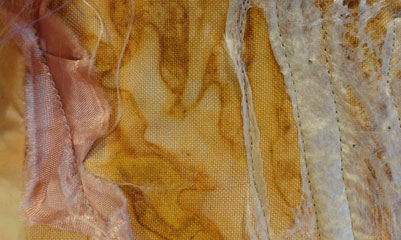
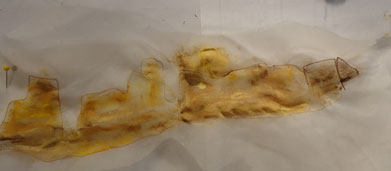
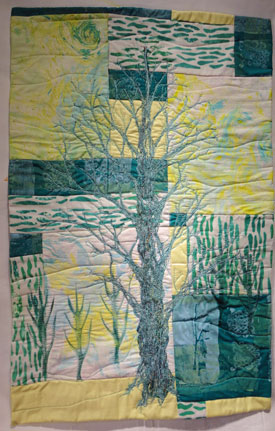
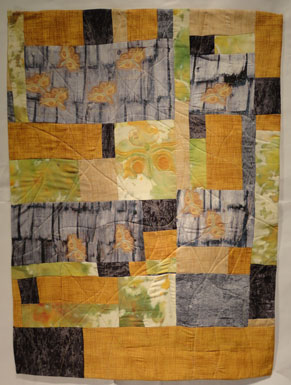
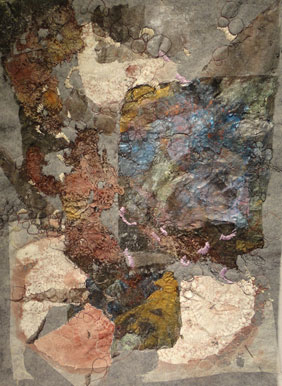
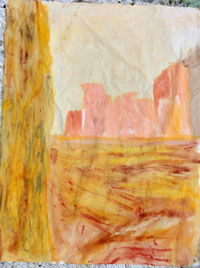
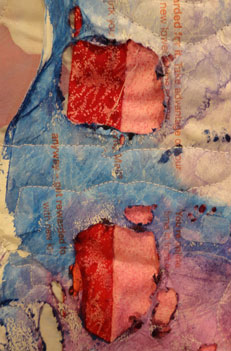
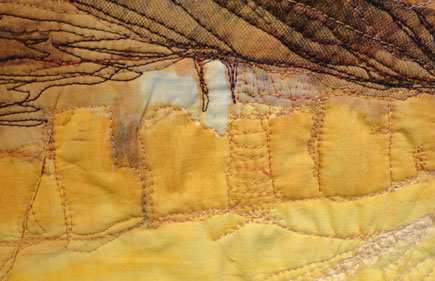
Sunny Crannies
This quilt is a part of the Rock Face series. I really seem to be fascinated by the surfaces of road cuts and cliffs. This one came from on of the photos that I took in Idaho a few weeks ago. Here I went back to the free cut method to put the work together.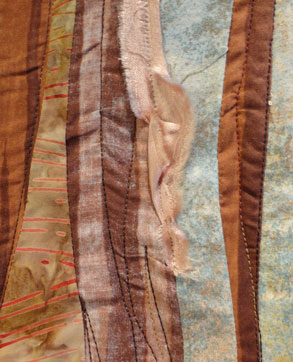 Rocks do not break in continual strait lines most of the time so the free cut is the only way to get the correct feel.
This shot shows that I also turned the brown commercial fabric over and use the “back” side to get another tone to the surface.
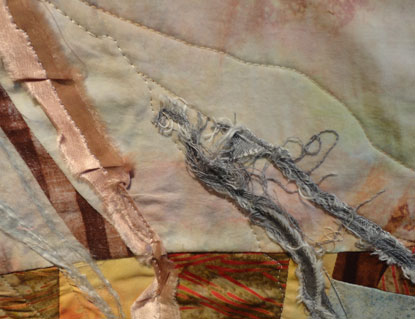 I used some of the fabric that Marty and I discharged in this quilt along with some slender torn gray jean fabric as well. I really like this plus the satin surfaces on the work. Finally I used more of the silk paper here too. This piece of silk paper has some glitter and gold added to the silk as well as the color. I look forward to teaching this technique with the Quilt Exploration Group in September.
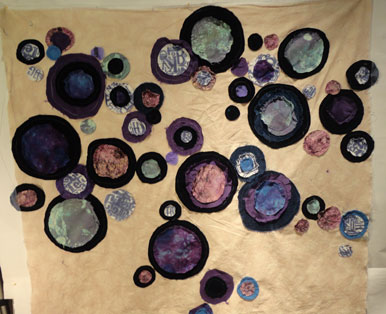
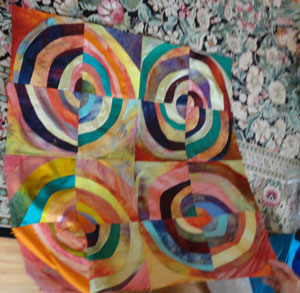
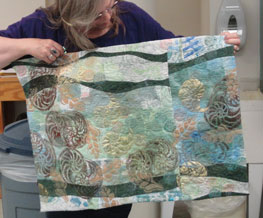
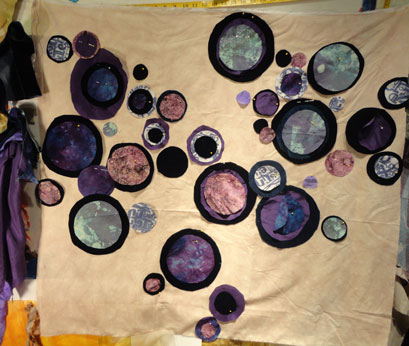
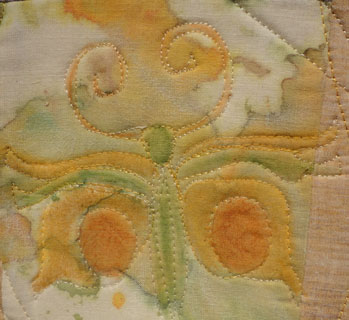
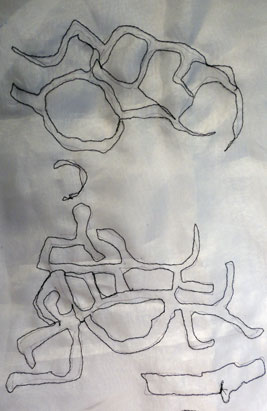
Rounds
This project is moving along nicely for me. It is changing under my finger tips however, but one needs to be open to that as it happens. All the circles are stitch down now and it has been washed so there is fraying of the shapes. I plan to slice the top and invert one or more to the slices before I reassemble it. I also want to add so yarn appliqued to the surface to add more texture. I will then have to see what the quilt tells me to do.
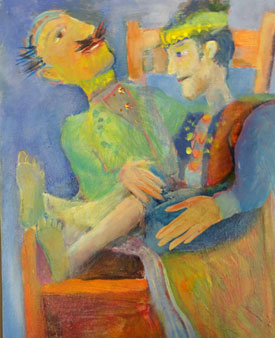
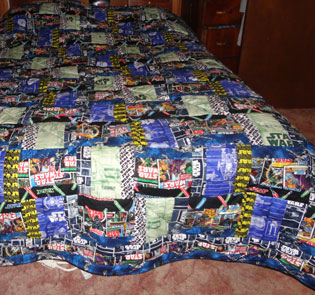
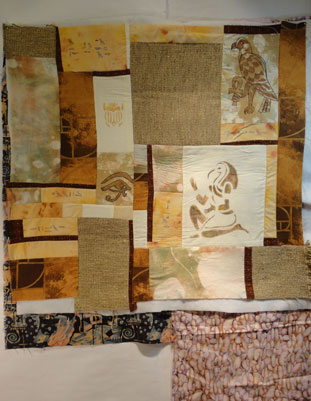 Eric’s Thoth
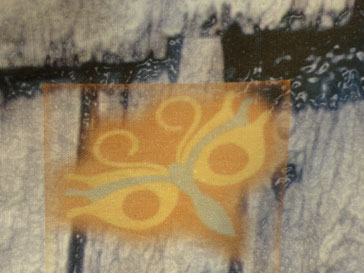
Thoth is the Egyption god of writing. I intended to complete this quilt for my husbands birthday. That happens to be today so I will not make it. But I am sure he will accept it later. He is an English teacher and worked on his collage publication called ” Thoth” so this seems like a good idea to me. I made the stencils- Thoth, the Eye or Horis and the Eagle mouths ago, but never put them together until now. 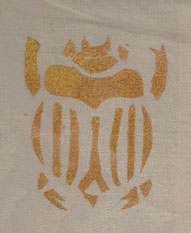
The scarab stencil is even older. I added the scarab after the whole top was assembled as I discovered that the area needed an addition.
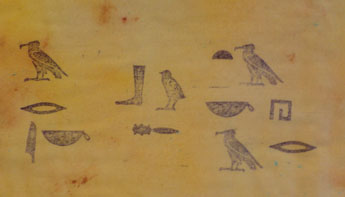 I enjoyed adding the Hiroglyphs to this project too although I did them before I assembled the top. I have had this set of stamps sense I taught school and I used them with the kids. Here I spelled out ” Eric the Teacher” using the Heiroglyph guild book.
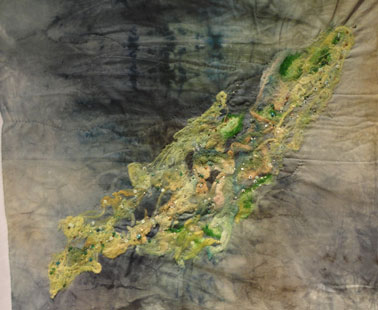 Green Nebula
I keep working on the beading work on this quilt. I am just about ready to do the quilting now. About three more evening of watching TV should to the trick to finish the beading step. Then I will begin the hand quilting.
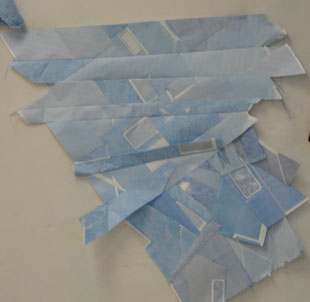
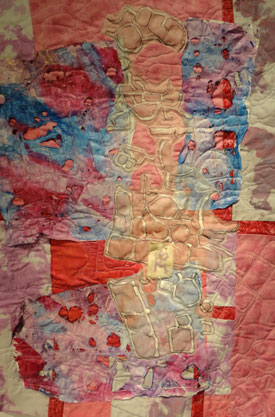
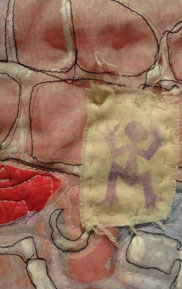
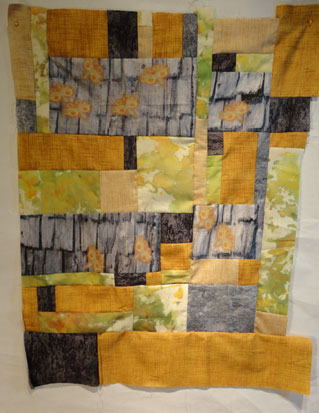
Blooming Bacteria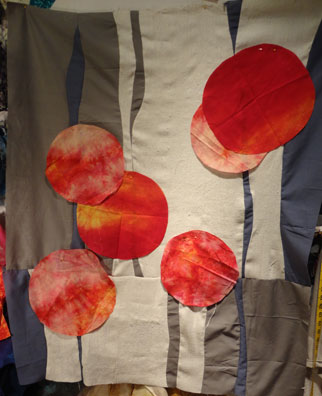
Here again I made my background using the free hand cut method. I did the cut and flip thing on this background too. The red circles are just pinned to the surface now . When I get the placement exactly were I want it I will satin stitch them down and begin hand work. I imagine it will be a while before this work reappears again, as the work I do at QBL will probably capture my attention for a while. I wanted to have this work started because I have made all the “add ons” and I do not want to forget the direction while I am away.
I will look forward to posting again Aug 8.
Keep Creating
Carol