 Hello,
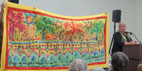
I am still feeling the effects of Quilting By the Lake and I am almost a week away from the event. I helped hang the quilt show that is part of QBL. (that was four weeks ago now) It is always great as one gets to look closely all the work. This piece is by my friend Randy Keenan. This shot of her is in the dorm lounging after a hard day.
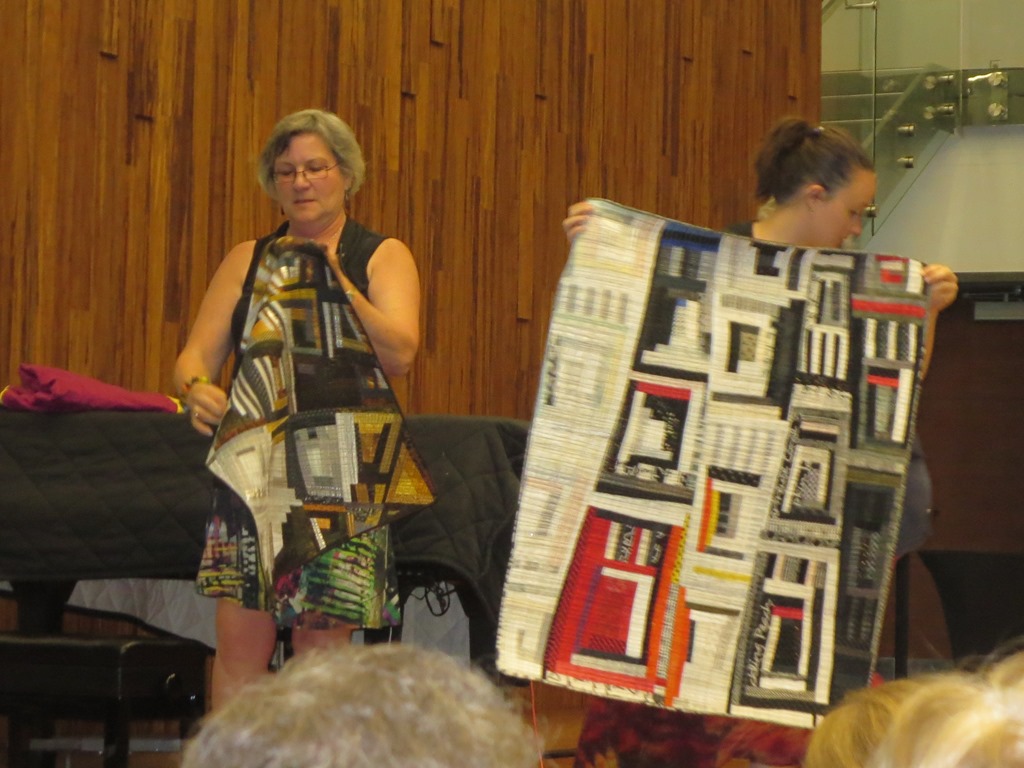 The first night we had a great lecture and trunk show by Katie Pasquini Masopust. She was very excited about her log cabin work and it was very enjoyable.
Seeing old friends is always a big part of QBL for me. This hand work is by my friend Sharron Evens . She was in Independent Studio class with me all week although she was in the other room. She is still working on her “Dear Jane” quilts, but she is now doing the boarder triangles. She is doing
  seven variations on this quilt all by machine and all at the same time.There is one for each of her children. Each is different color pallet with a different special effect. Over the two weeks of QBL she finished seven of the triangle units for all seven of the quilts. ( see some in the background of the second shot) She assures me she will be done with all of them
  by QBL time next year so she can take a class. It has taken four years to complete this task. This shot of her on the floor is
 when she was getting ready to insert the center of this quilt on point. She has written a note book to go along with the project too. It is quite a task.
The really great thing about Independent Studio is how much is going on. 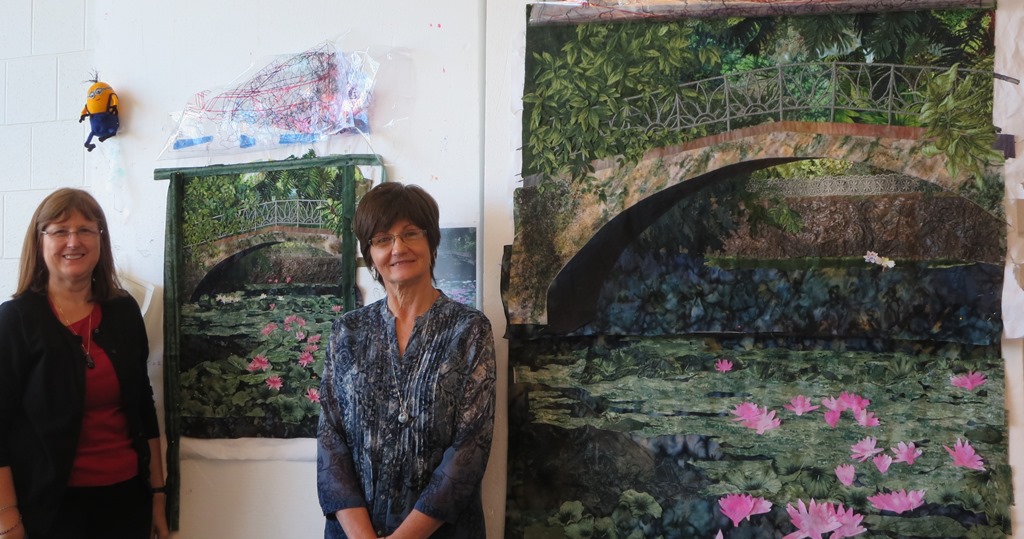 Trina and Leona were working on two quilts based on the same photo of a Chinese Garden. It was fun to watch it change over the course of the week and to hear them talk- sort of a peek into the two different ways their brains
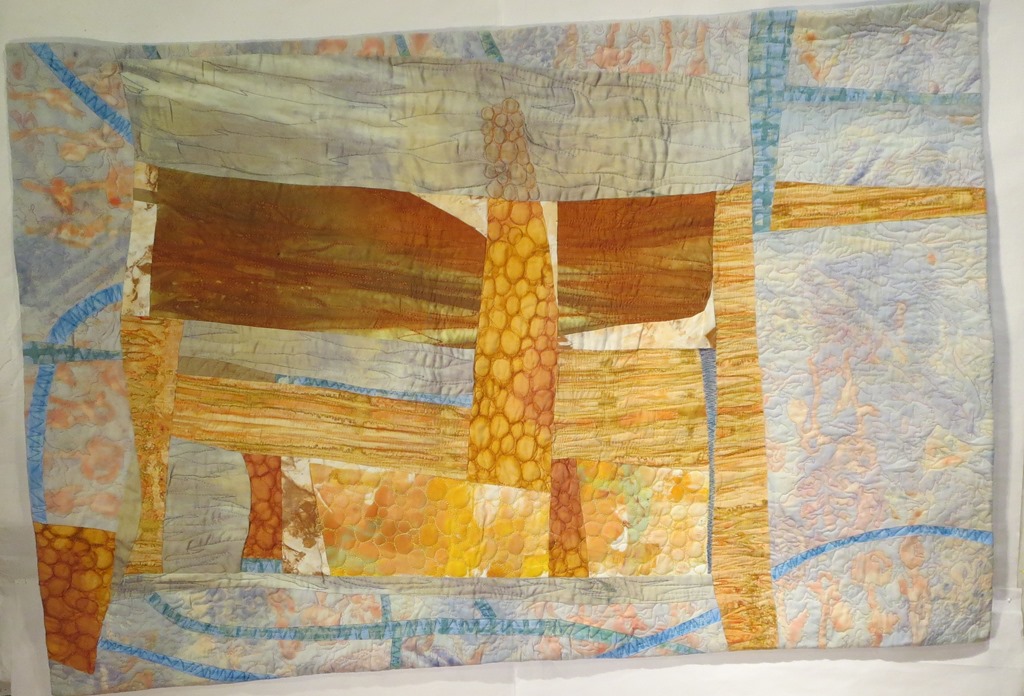
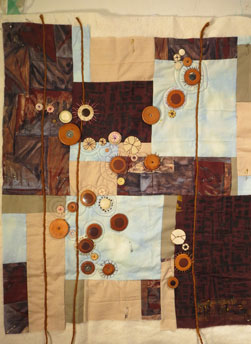
  worked on the same problems. I worked on a new rock /foundation piece. I did take a photo every day this is day 2.
  The second is day 5.
The other wonderful thing about studio is we can do just what we w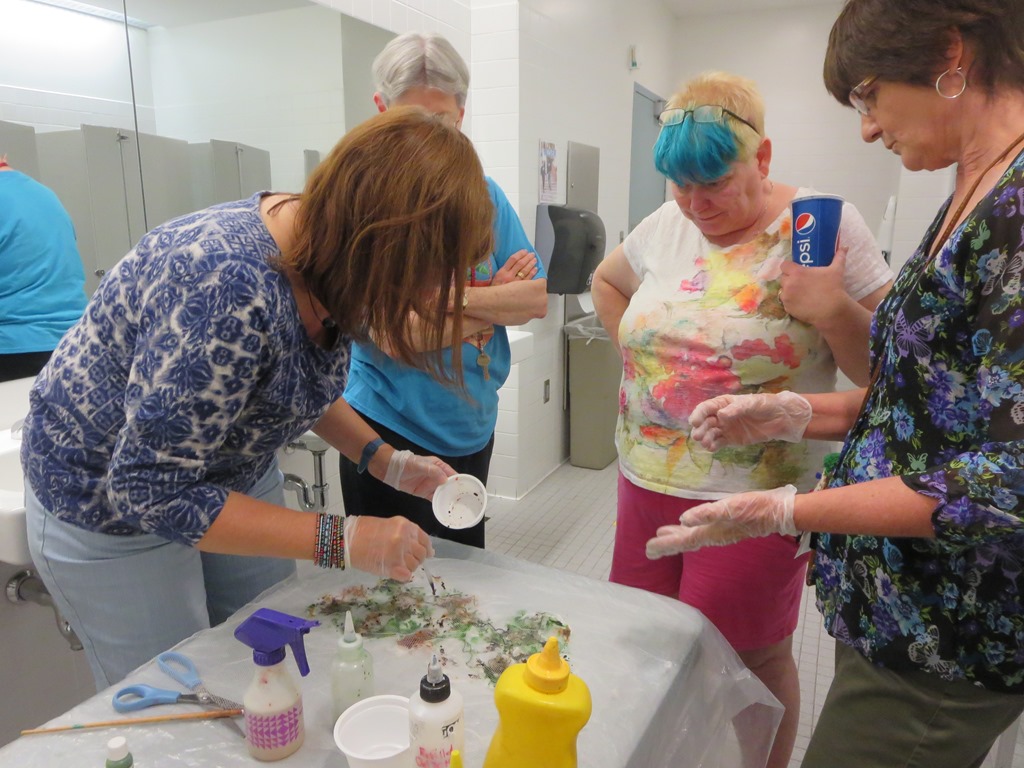 ant and on Thursday afternoon I taught a mini lesson in how to make silk paper in the women’s bathroom( it was too windy to work out of doors). It was fun and everyone who did it walked away with a little bit of silk paper to use .
There was a new feature this year at QBL- it was a lecture/or trunk show every afternoon after class. The topics ranged from “How to care for your Quilts” by a textile conservator, a talk by Donna Lamb on “Future planning for QBL” to
  trunks shows. Week one I made it to two of the trunk shows. One by Julia Graziano and a second by Nancy Breland. Week two I went to
 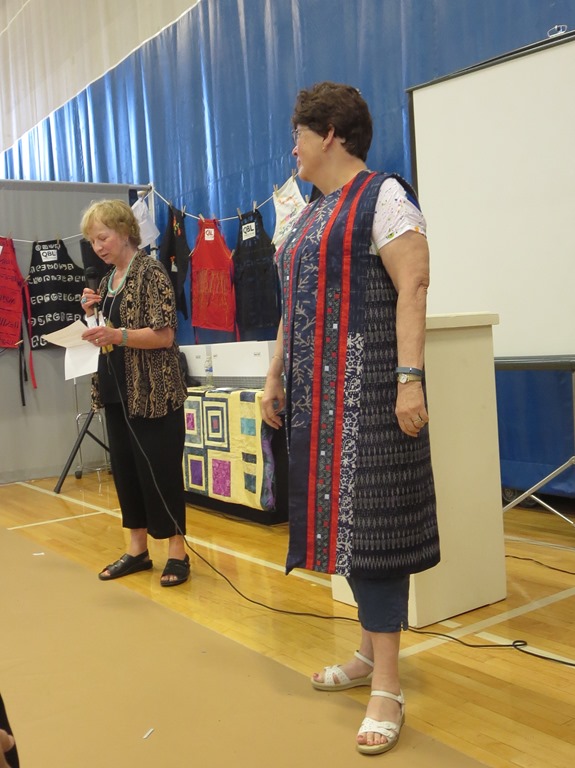 Marcia De Camps’s trunk show. She showed forty works in forty min.
A second event that took place both weeks was a mini mall were participants and a few outsiders came and sold there wears at the quilt show. There was also a raffle in conjunction with that event
and I won a prize.
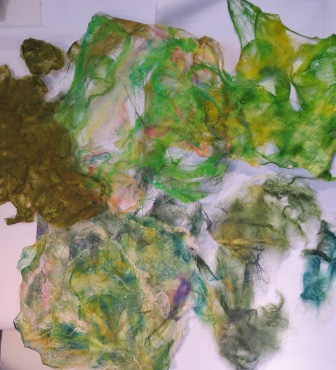
 There was an special show / event at the Schweinfurth both weeks as well and I found it to be really fun and exciting. All the work was done with recycled materials. I encourage any one to go and see it.
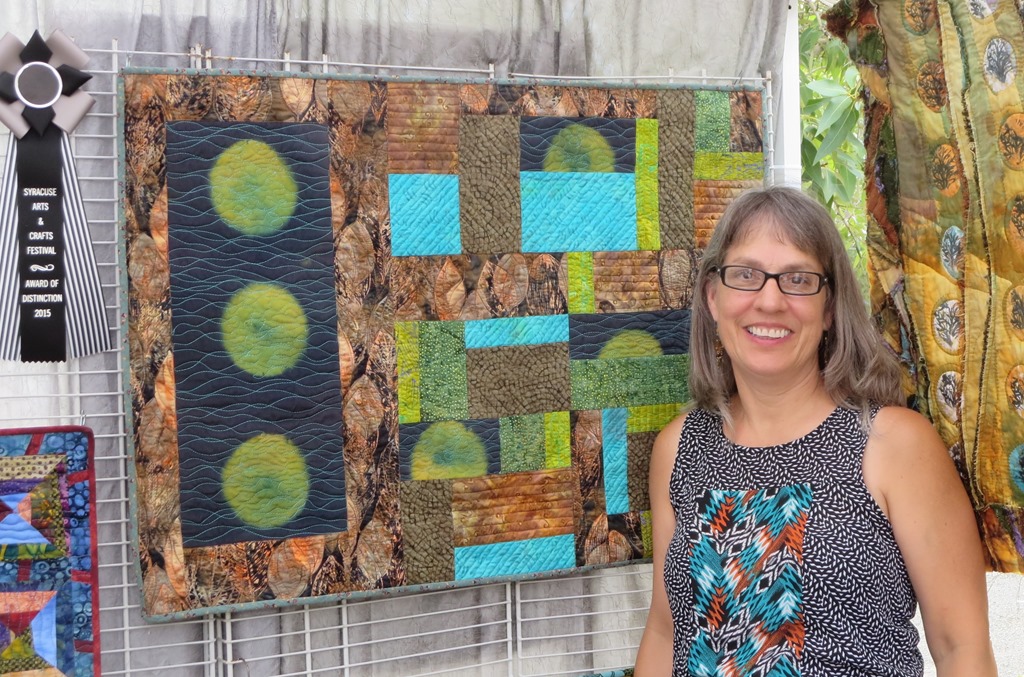 In between weeks one and two of QLB I went home and did laundry and switched gears as I went off to a new class. On Sunday on my way back to QBL I stopped and visited the Syracuse Arts and Crafts fair. My friend Sharon Souva won a first place ribbon in the show. It does look good.
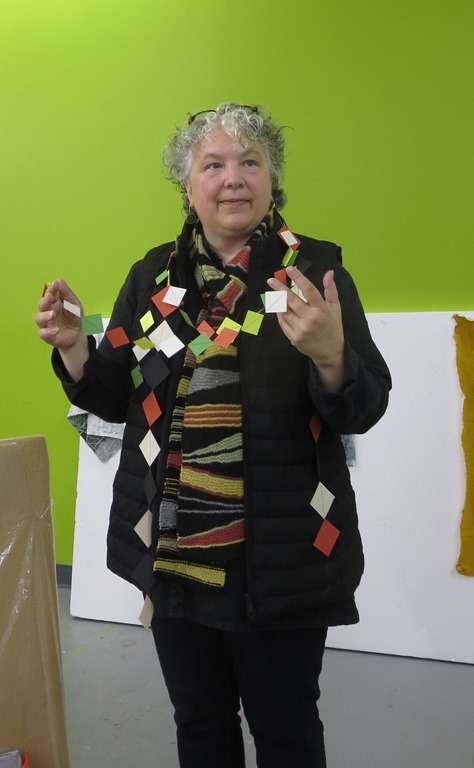
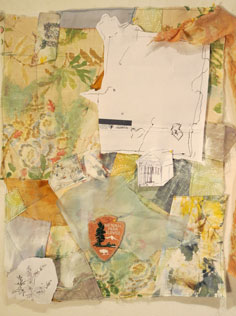
 Donna and Stephany were there to greet everyone when we returned. I took a class with David Hornung week two- Color/Collage.
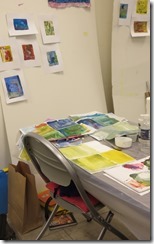
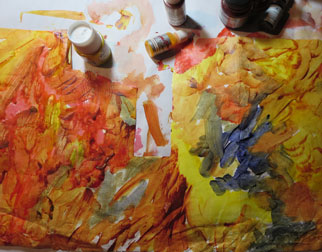
This shot is of my work table day two in the morning before I got started.
 It is still sort of tidy- but things went down hill from there. Marcia worked next to me and I really enjoyed watching her build her projects. Her style is so clean and beautiful.
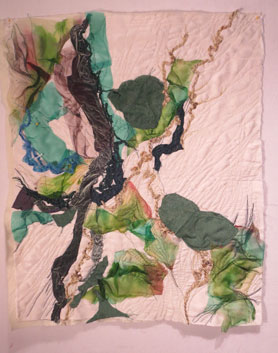
  Linda was across the room and this shot is of one of Linda’s more lyrical projects.
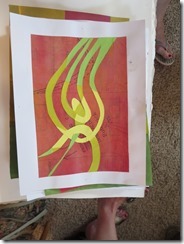
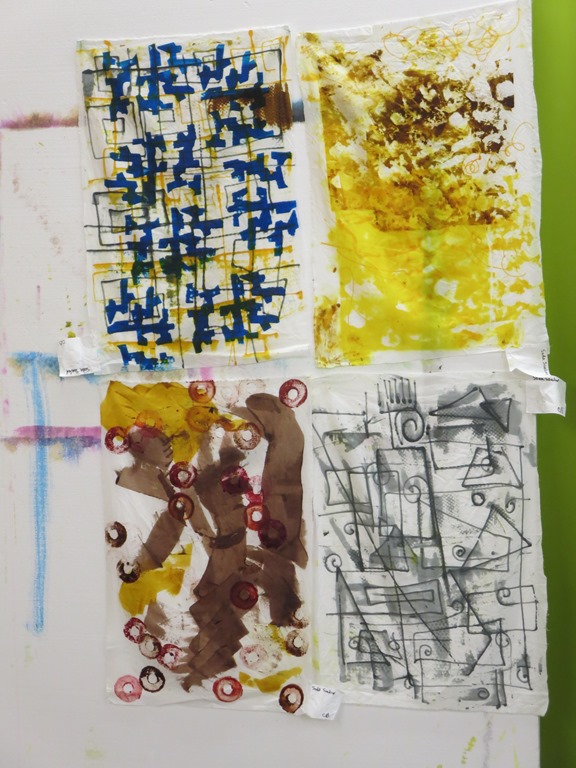
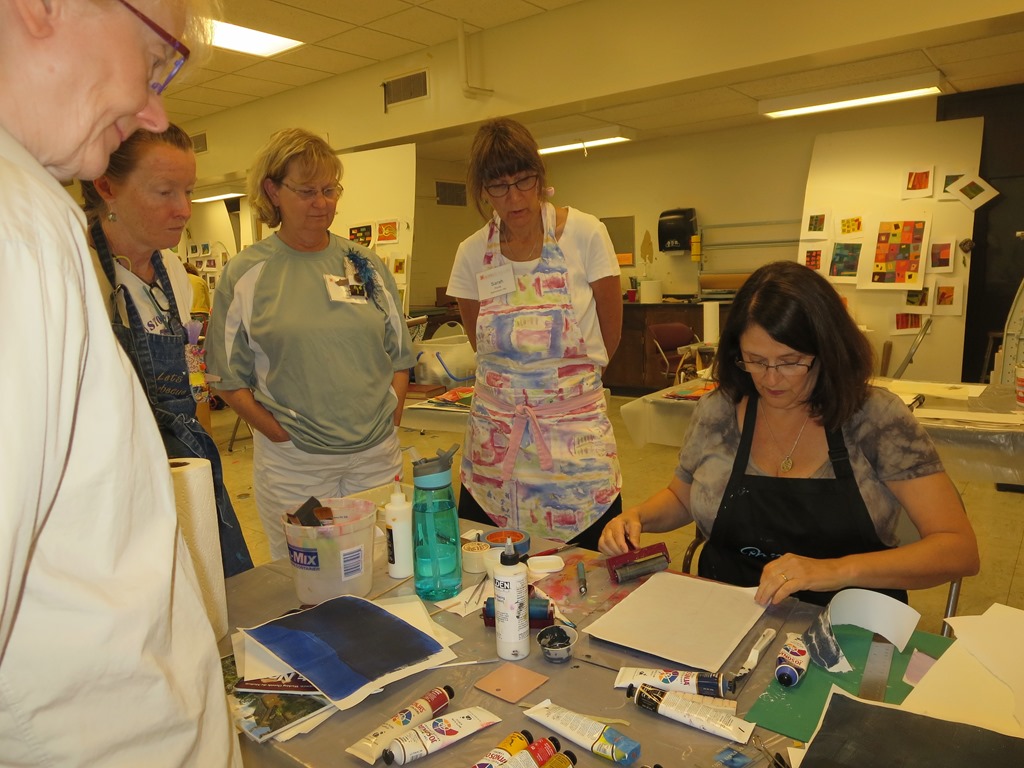 Angela was in the class too and she ended up doing lots of Gelli plate printing of her backgrounds instead of painting them. She even demonstrated for David and other interested folks how the process works. I think David is hooked and will try this technique.
 The last night of QBL is always a mixture of excitement and sadness. We have a class show and tell for all the classes. This shot is of the folks in Sherri Lyn Woods class.
 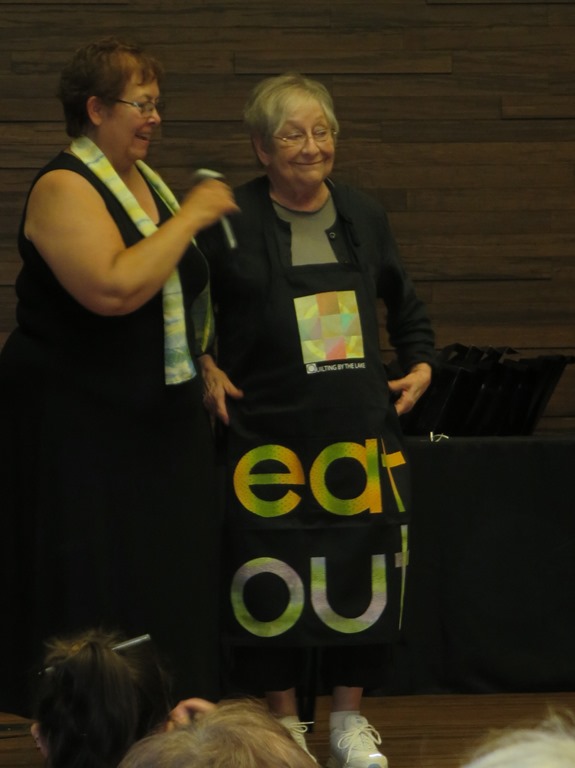 This year was the final teacher apron auction for the scholarship fund. I really liked Judy Bliden’s “eat out” apron .
I went back to the dorm for one last bit of talk and parting. Sharron made am a root beer float and it was wonderful way to end a great week of QBL activites .
Then there was the AQS Quilt Week going on down town too.
Saturday morning I went down and meant Cheri and her mom to check out the show at the On Center . The quilt show was a good 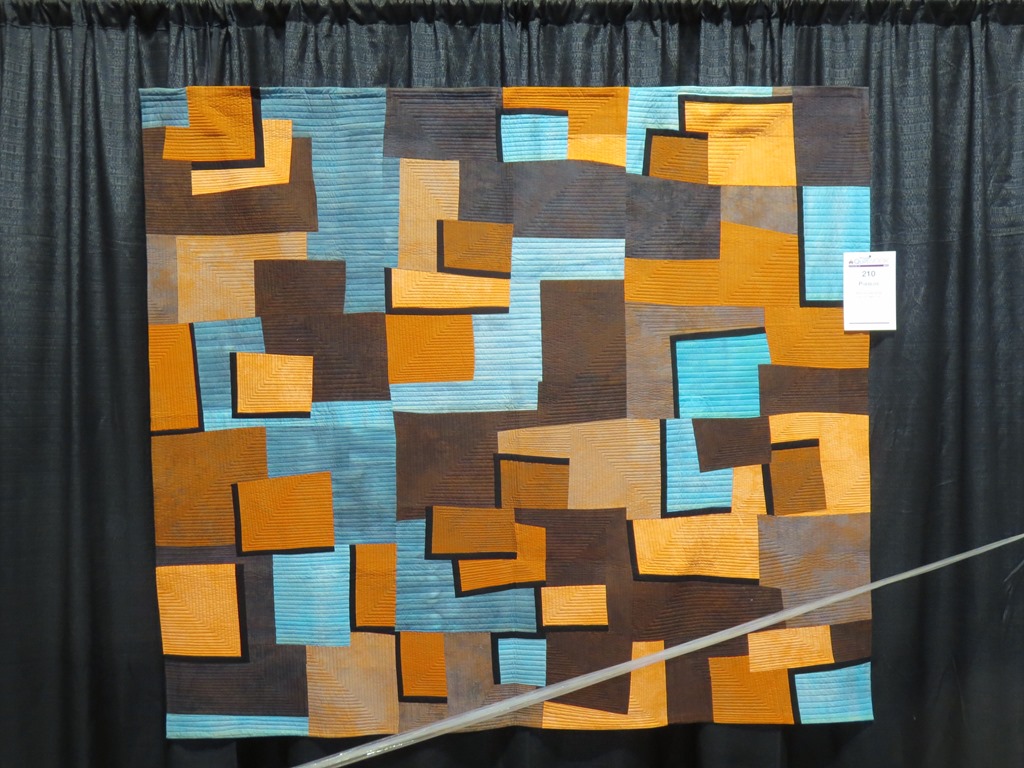 one and I had a hard time choosing my favorite. Marcia’s quilt was among the quilts of friends that I spotted at the show.
I enjoyed the SAQA section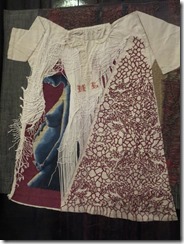 of the show too. Most of the quilts in that part were from Europe. I really liked this wonderful piece with all the different textures the most.
Things did not stop with the second show for me either. The first Tuesday of the mount was this week so I had QuIG’s and Diva meetings too. So many folks were also QBL partisipants that we spent a lot of time talking about what folks did.
 Several folks- Liz, Linda C, Linda H and Angela were all in a Cantha class together.
The hand work is wonderful. Angela has already started two shawls with this type of stitching in mind. It will be a while until it is done- but I really like the start of this one.
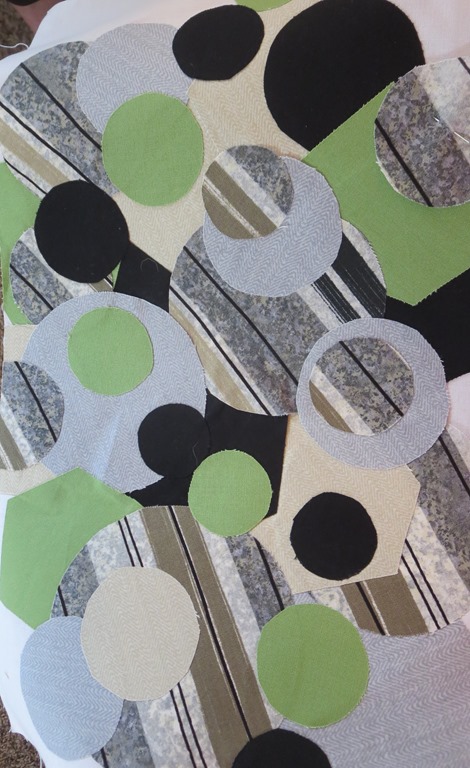
Linda H is taking an on line class with Elizabeth Barton. This is her solution to the problem for the July Challenge. What great movement. 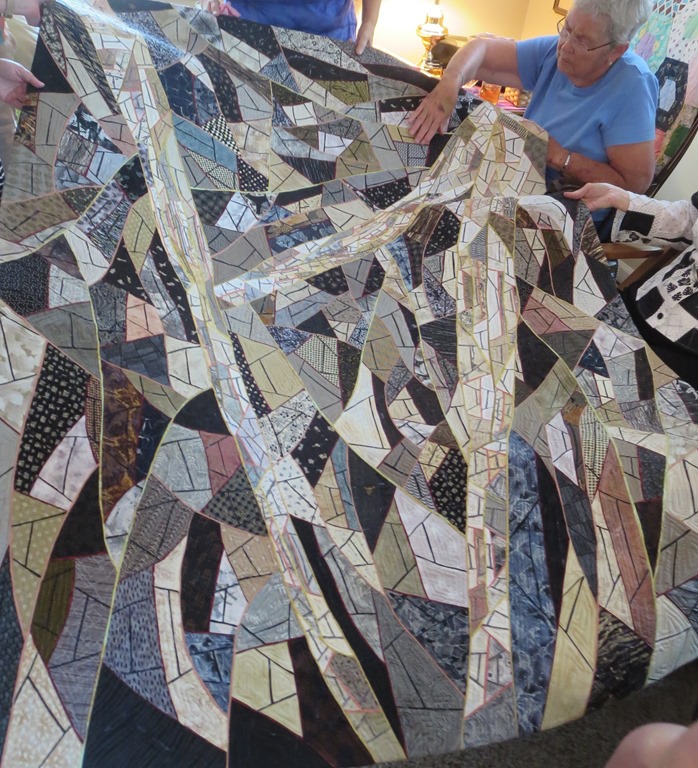 Linda C has finished the work she showed us last month. I really like what she does with small inserted lines.
 Angela is taking an on line class too and this is her felted interpretation of one of her drawings.
Sally did this work about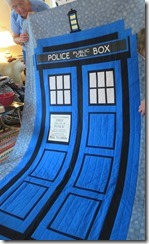 Dr. Who for her daughter who is crazy about the story.
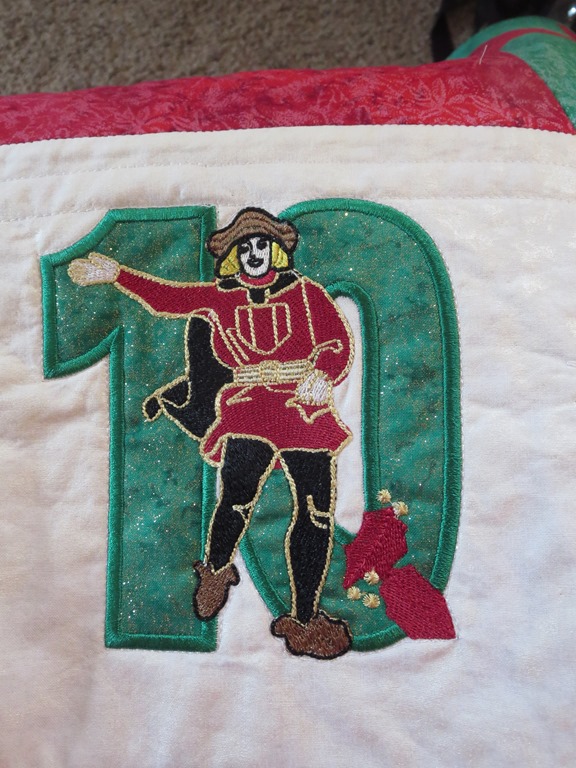 She was busy with her embroidery too and getting ready for Christmas. This is a part of a Christmas tree skirt.
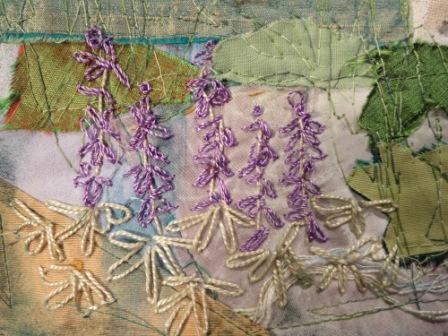
Sue Ellen is working away on her tree series and this is the newest one. She also took a class at QBL with Cynthia Corbin and did a lot of work with purples. This shot also shows the inspiration for the piece she did in this class.
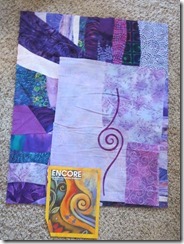
 Liz is making progress on her Row by Row work . It will make a great summer quilt when she is done.
Victoria 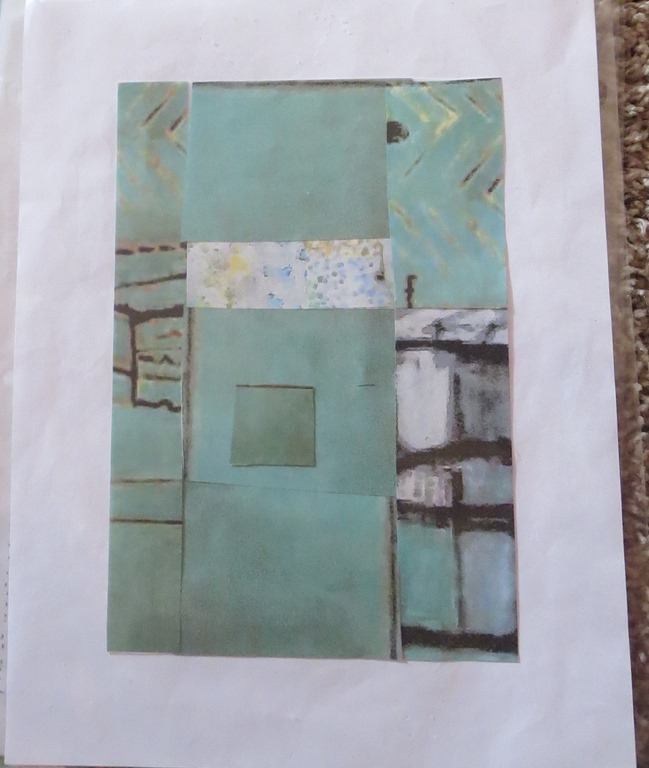 was in Judy Bliden’s class and here is her final sketch for the next quilt she will be working on.

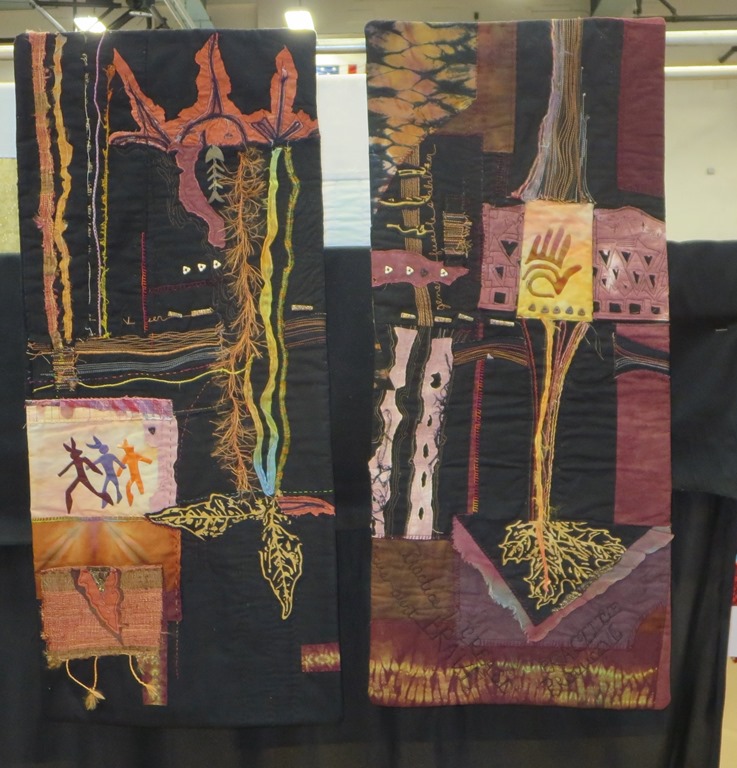
Julia was asked to be a part of Nancy Crow’s Circles Show and this is her entry. It is wonderful.
 Sally is moving so we made a little box full of little quilts form all of us. She is holding up Alice’s work here. This second is Susan’s piece for Sally.
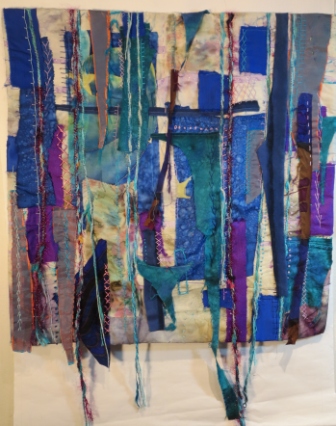
Anne is working away on finishing this piece for a show. I really like the interesting machine  quilting she is doing with her work.
 Noel took a painting class at QBL and she learned how to paint sea shells among other things. This work will be fun to watch grow.
Ruth purchased this piece from the AQS show. It is on of the Egyptian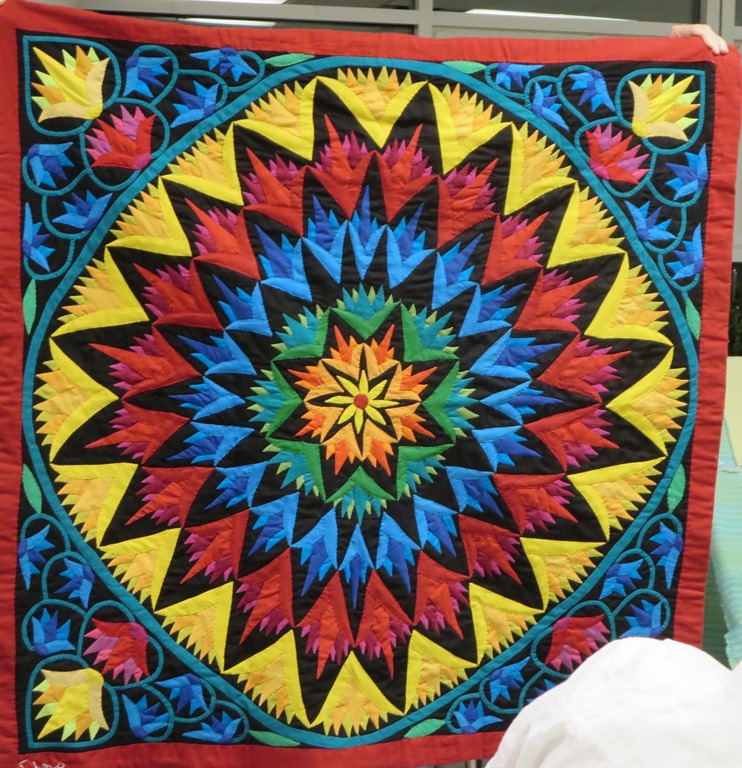 tent works that they were featuring and selling. I like all the wonderful color and usage of traditional Egyptian patterns.
I have not done any work out side of QBL but I am very full of ideas.
Keep Creating
Carol
 Hello-
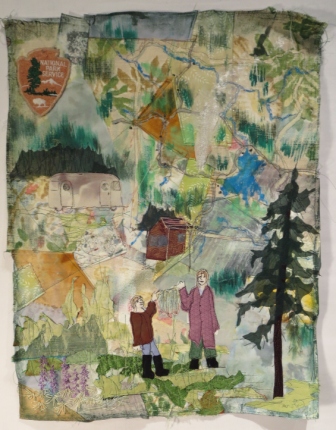
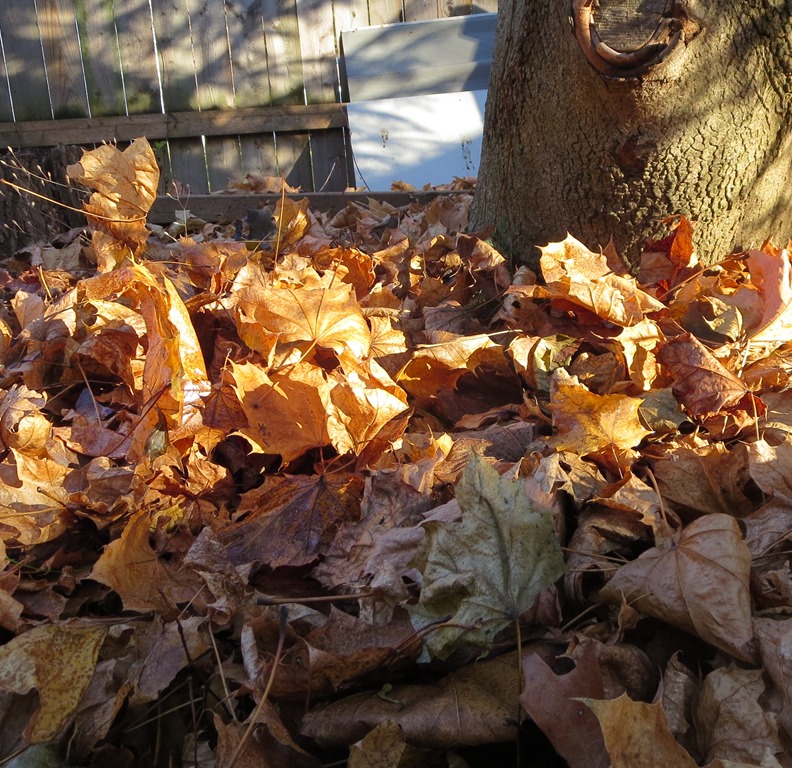 trying to notice on my walk that day was how the leaves pilled up around the tree trunks. Sometimes they are deep and the tree seems to lean a lot. Sometimes the leaves and earth round the base of the tree pile high and other times it seems to fall
 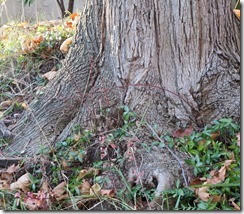 away. Then I came across this tree on the side of a hill and found many of the roots exposed. I was doing all this visual research for my next quilt project using leaves as the first took on a life of its own and I could not use the silk leaves I had created.
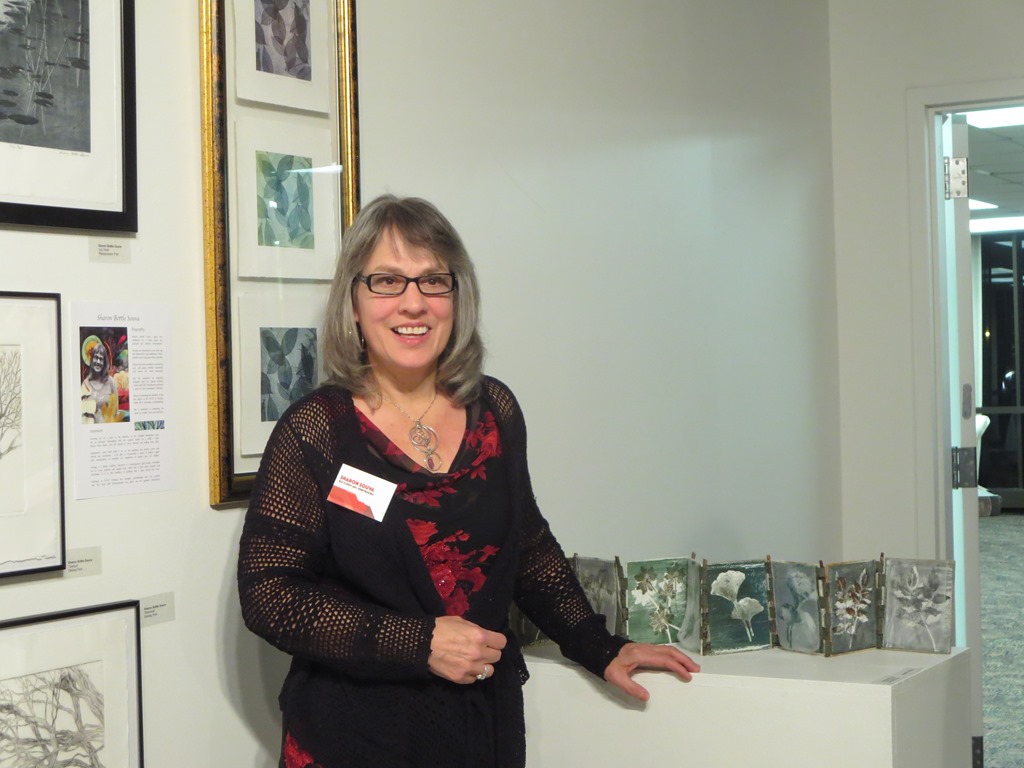 She explored lots of different areas in her college work. Sharon will start work on her master’s degree next month.
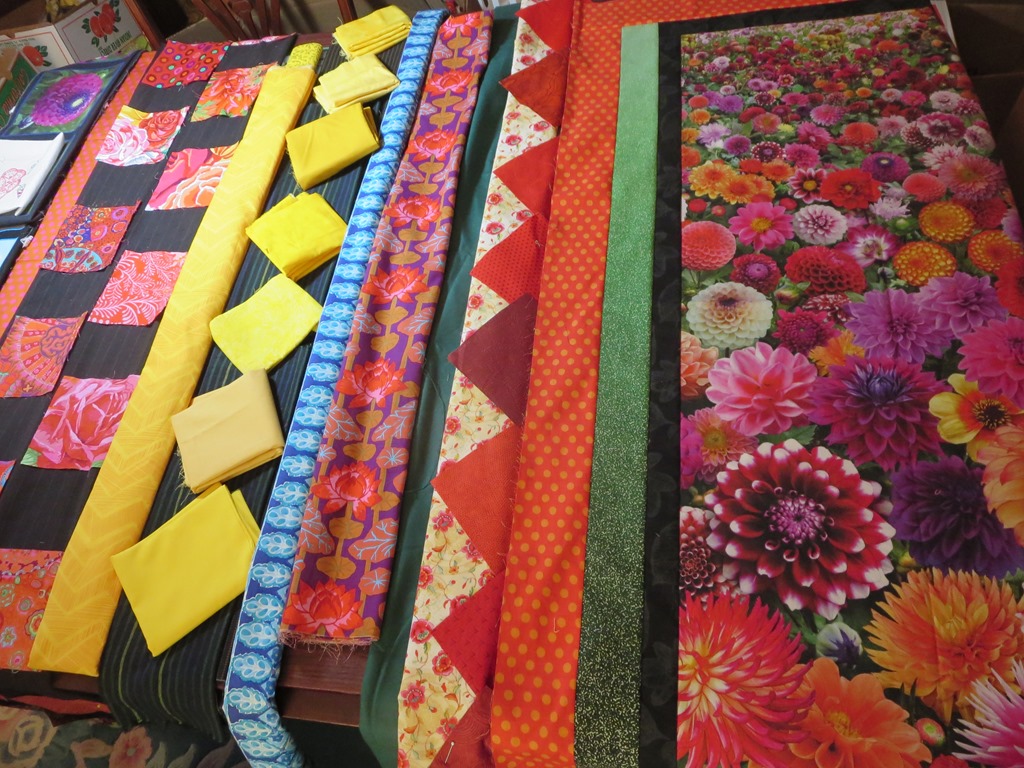 Because of the way Nancy works I made a run to her house today to talk about the lay out of her boarders on her next project. She really did not need me as she had done the work- but it was fun to talk about what she is doing. I enjoy how she mixes and uses fabrics that I would never pick out to use myself.
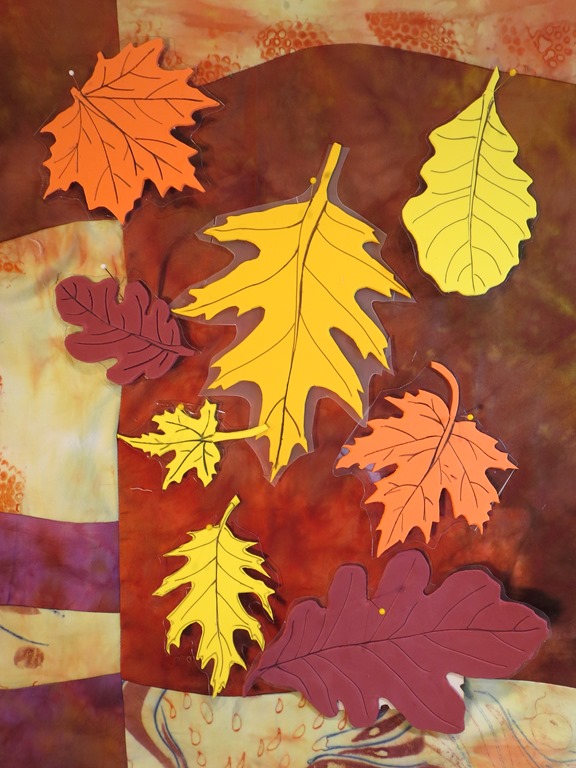
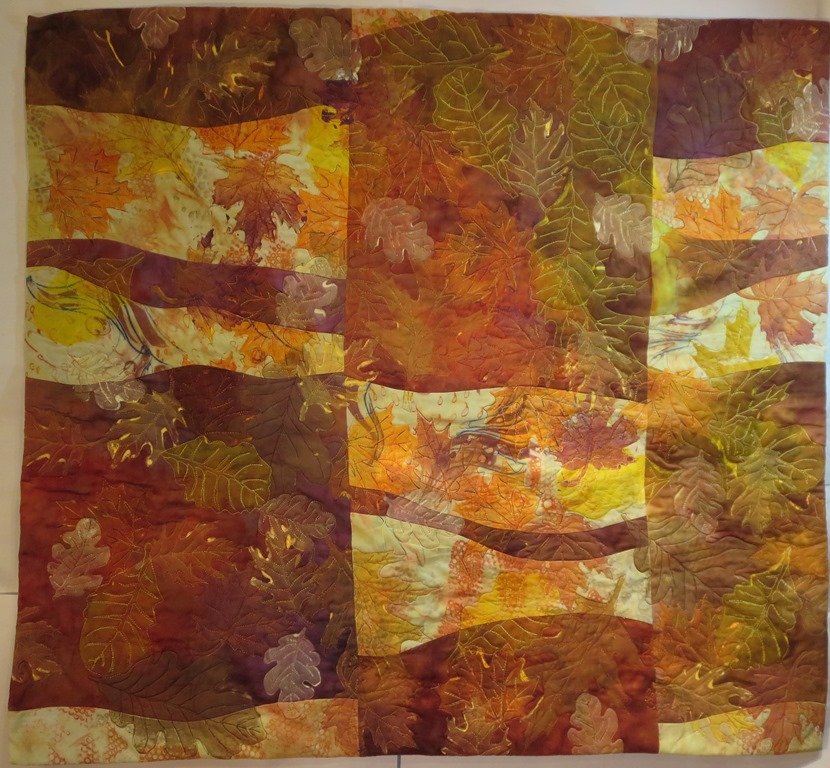 This quilt has been fun to work on. I really enjoyed the free motion work. Out lining all the printed leaves was a learning experience. There were so many veins.
 The paint I used was transparent so the leaves showed through one another. That made the image seem deeper I think.
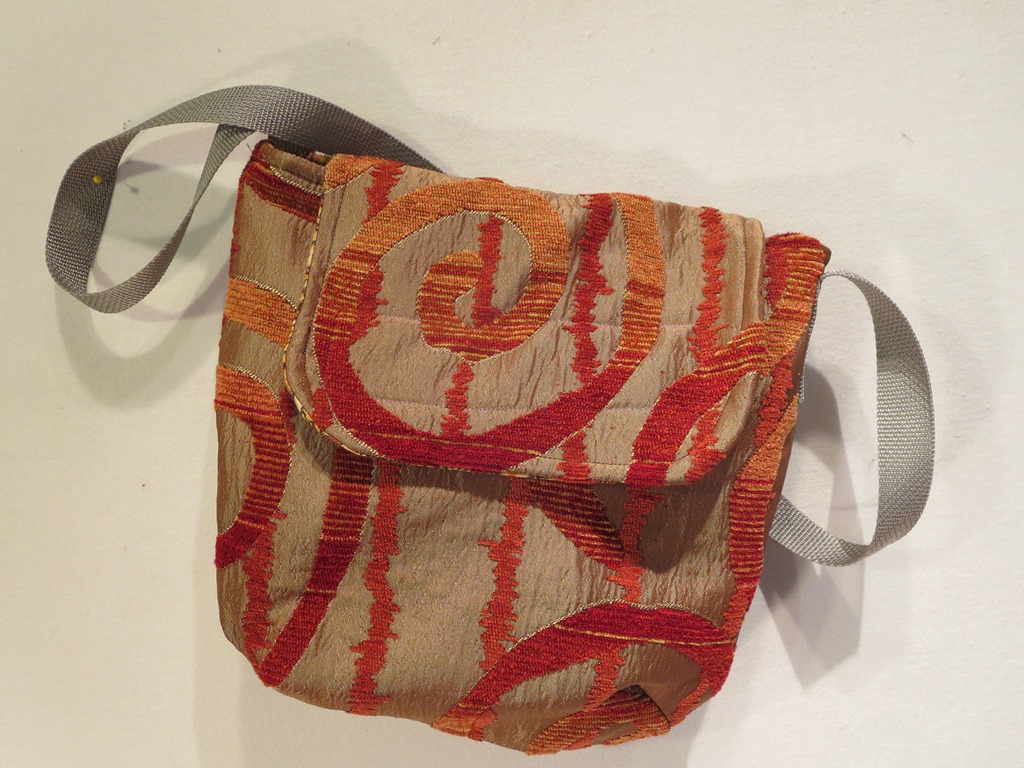
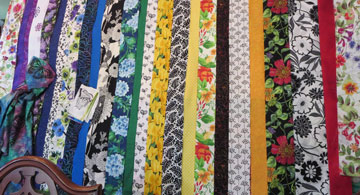
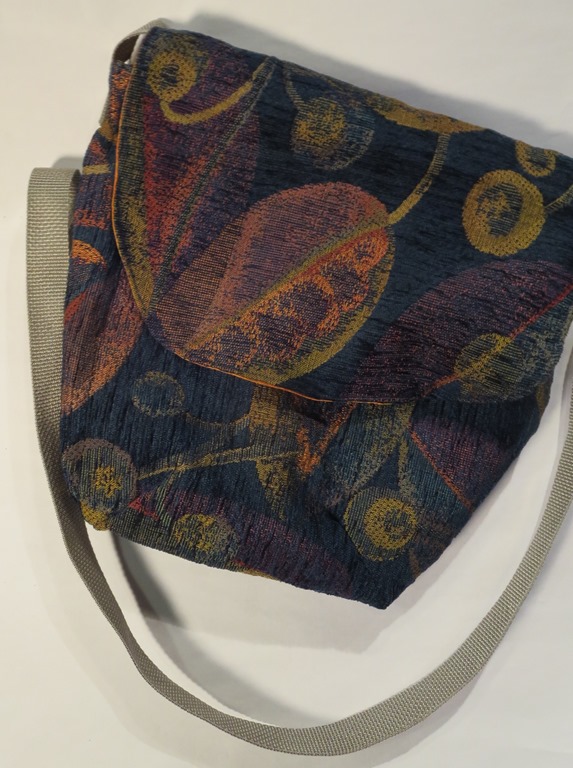 Hand Bag I also though I needed a new hand bag for the season so I pulled out this piece of Regina fabric and made myself a one. Its dark and will not show spots I don’t think. My only regret is that I did not put a pocket on the outside of this piece and I do miss that.
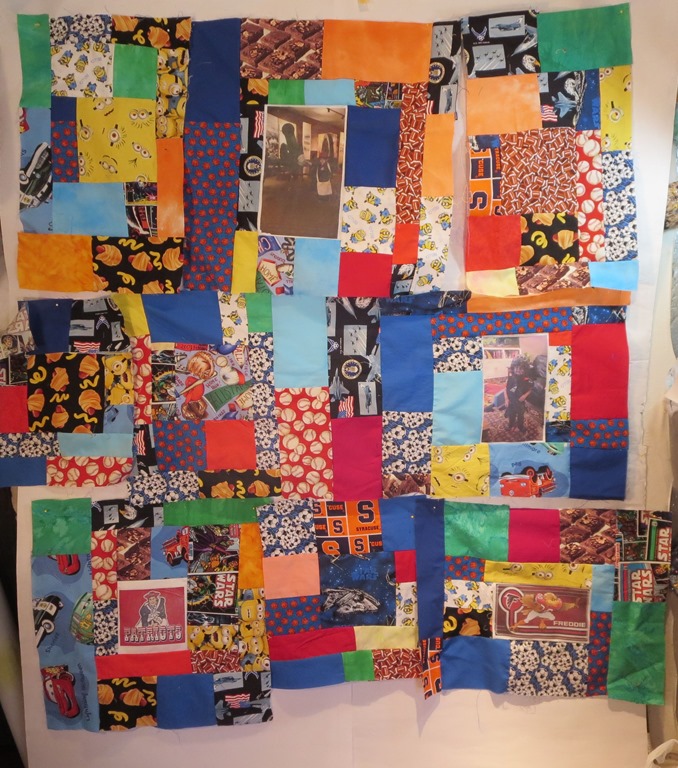 Williams Quilt I am building the blocks for William’s Quilt. It will be colorful when it is complete. I will lay it all out on the floor this week to see how the parts work together.
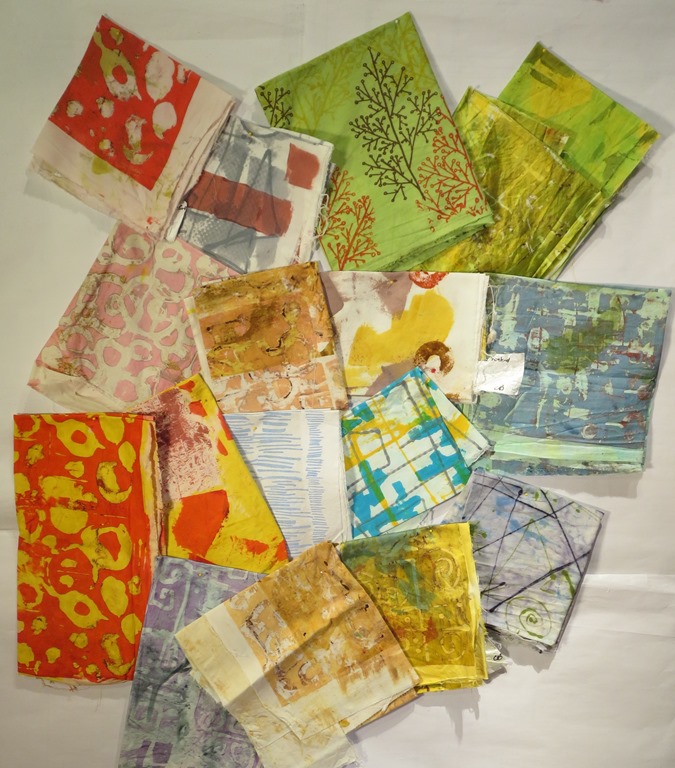
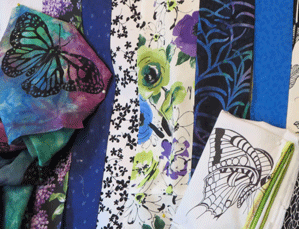
 New Work These fabrics are my loose layout for the next leaf quilt. I will try to mix the two images from the top of this blog into one image that I can work with. I will also be on the look out to keep the leaves around the base of this tree a little simpler so I can use the silk leaves that got me started on this leave thing from the first place.
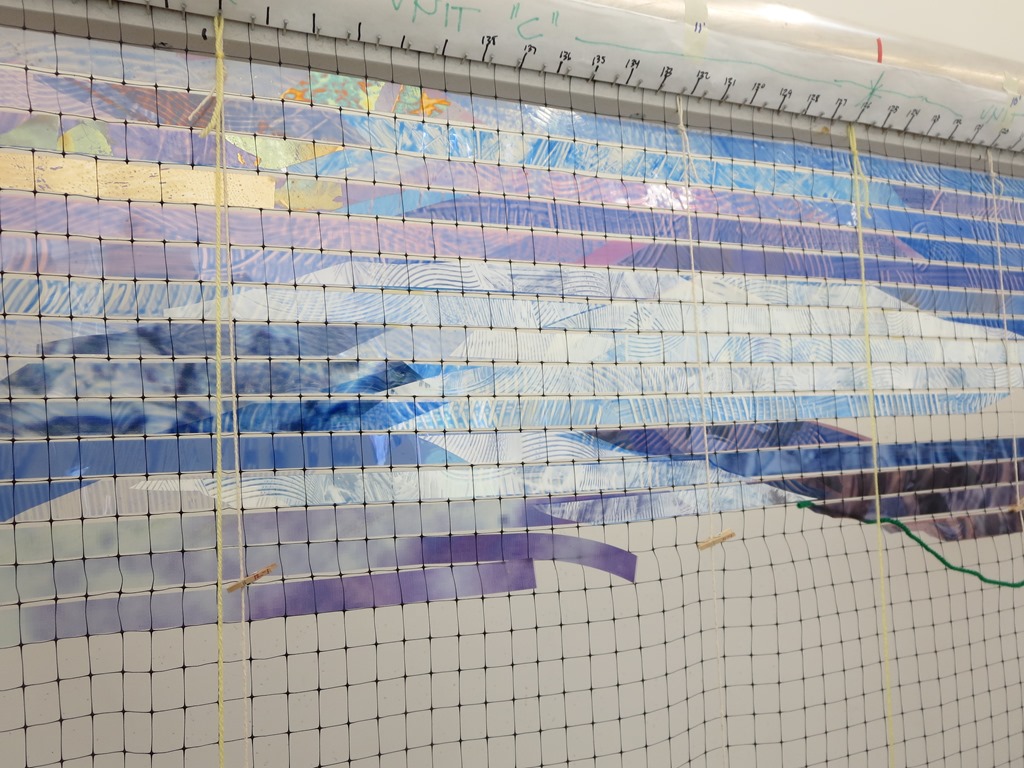
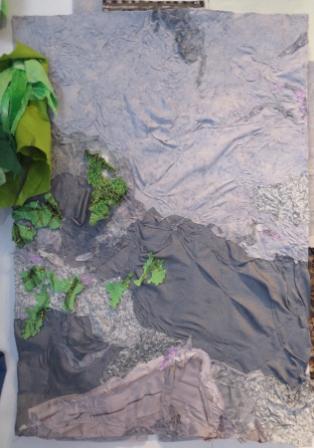
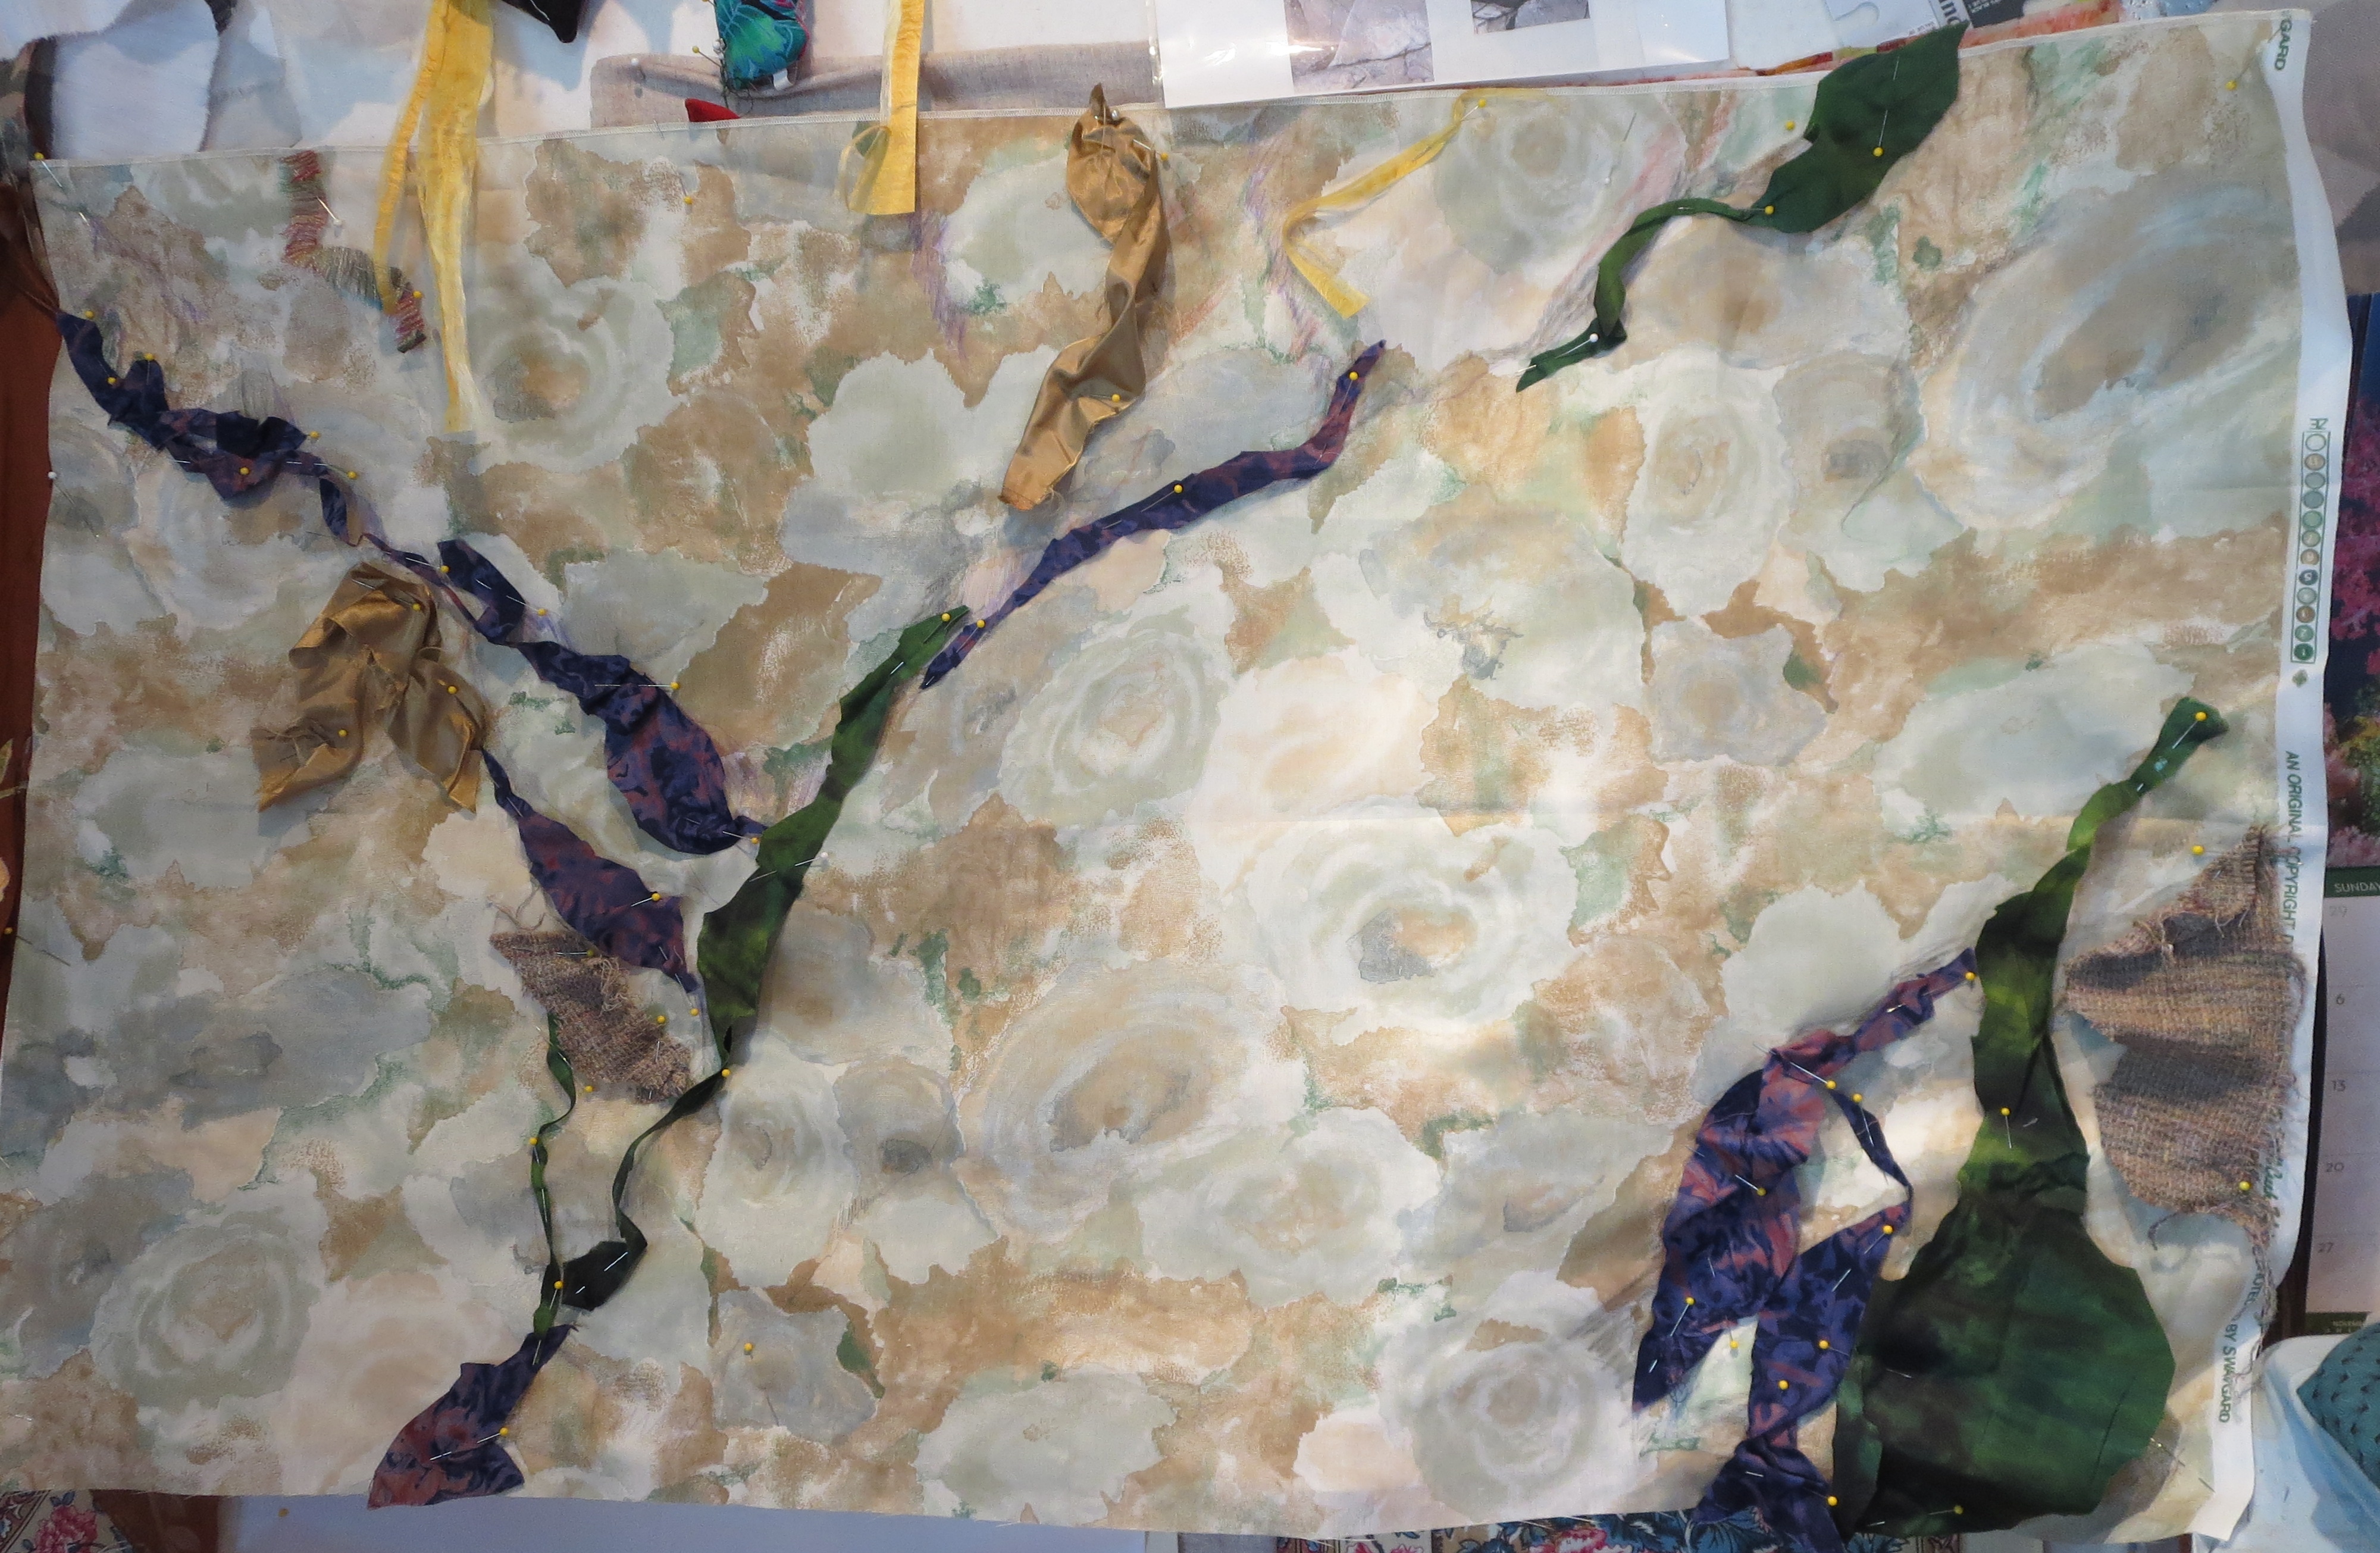 New Rock Work This is the very beginning of my next rock piece. I am working from the same photo graphic that was taken of Dead Horse Canyon wall. This is about a 4″ X 6″ section of the photo. Lots more build up is yet to come here as even what it pictured is only pinned in place.
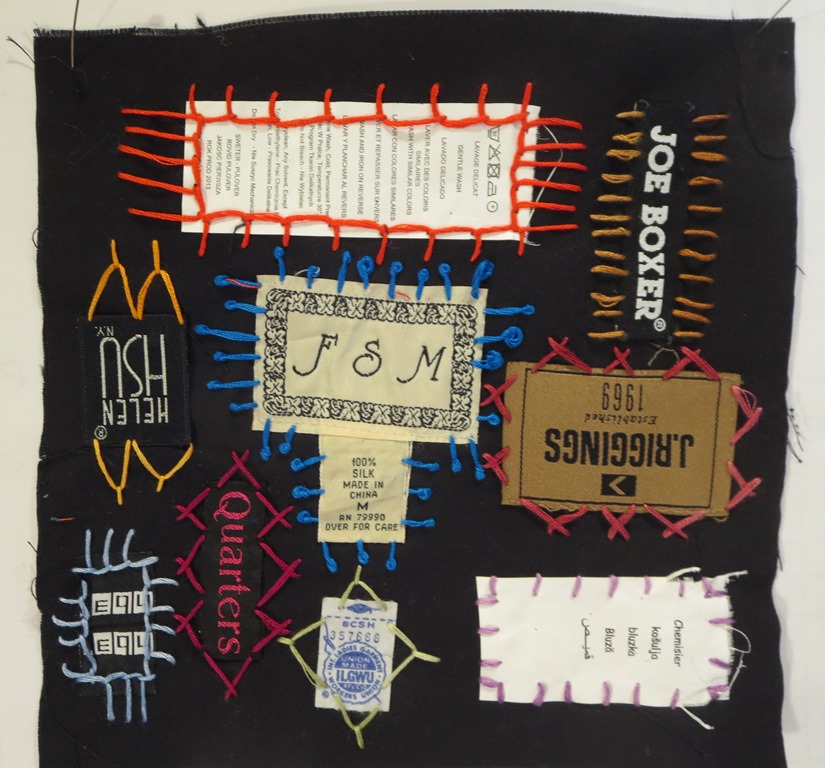
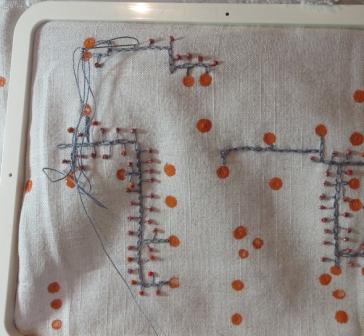
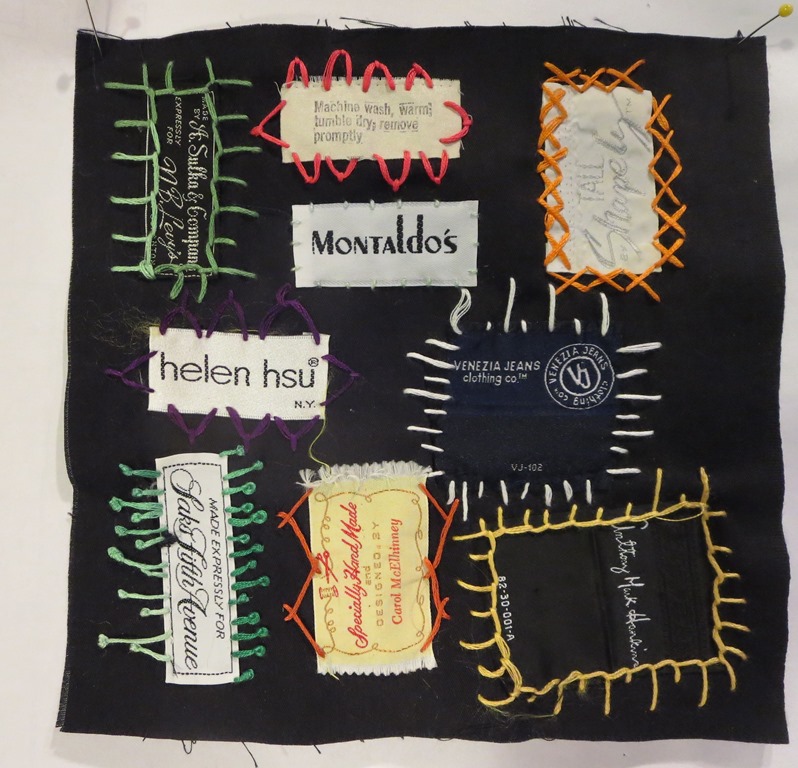 Label Block This is block # 30. So now I am one fourth finished with the creation of the blocks for his project.