When I walked into the studio this morning before I turned on the light I looked at the pin wall. Because the day is gray the light was not strong so the wall appeared in colors of darks, grays and tans. Is this what a color blind person sees all the time I wondered? I love color and it dose effect my life. I am keenly aware of red this week for lots of reasons- Valentines day being a big part of that. I was a hostess and had to bring balloons as table decorations to the luncheon on Tuesday. Getting four of these clusters of balloons in the car was a challenge. But the process made me smile all day long. I have one cluster in the studio now and I am still grinning about the whole idea. My husband gave me Red Roses for the holiday too. They are another study in the wonders of red. Color is a strong influence on my life.
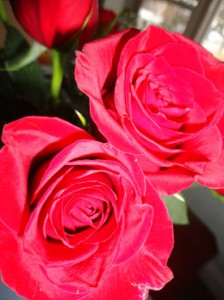 Color is so very complex. There are labels like tint, shade and hue. They are used to label feelings like” black moods”, ” seeing red”, and “feeling blue”. We all have our favorites and colors we dislike for various reasons. Angela’s suggestion from the QEG’s meeting was that we study color, so I have purchased two books on that subject.( there are lots of them) I intend to read do some exercises and see if I can build some additional color confidence. In the mean time I will keep my eyes open and try to be more aware of the color that fills my world, being thankful that I see them.
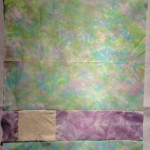
Progress Report: Biases Bound Adventure Challenge #1 18″X22″
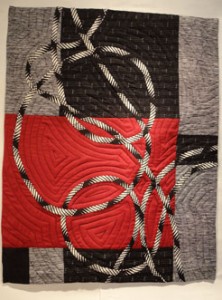
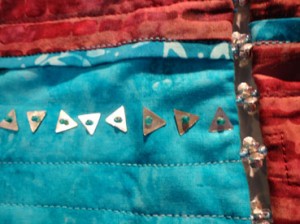
Biases Bound is now done. Those biases strips sure started a lot of different projects and I learned a lot about color using them too. I am still enjoying the process and plan to try to work again with solid fabric strips on the next one.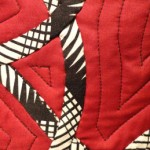 You can see from the close up how complex the strips were and understand why they frustrated me a bit. I do like the way they look however. As you can see I have added the size to the title section of the blog. I am not sure if this is were it will remain- but I feel it is and important bit of information about the quilt. I also am trying to find a standard small item to add to my close ups so the viewer will get a sense of scale there as well. A postage stamp perhaps……
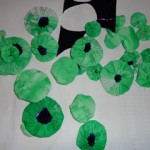
Paper Quilt – Rocks and Water 13.5″X22″
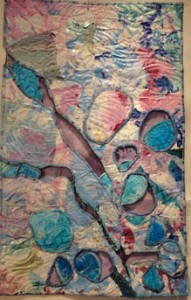
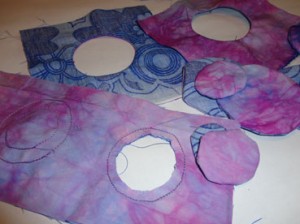
I am quite happy with how this quilt finally resolved its self. My wanting the “river” like cuts to be uneven did not make it an easy process however. I like the use of the purple ribbon in the back as it adds to the depth of water feel I was after here too. The process is still a challenge to me so I will keep working in this fashion for at least a few more pieces. I can see so many ways to keep adding and playing with this concept- adding buttons or beads on top. More fabric and how about paper from other sources? Fun in the future.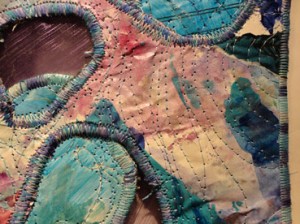
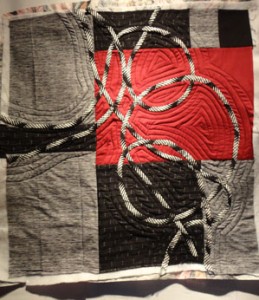
Black White and Burgundy 18″X 24″. I am trying new ideas for presentation of my work. Some where I read about mounting art quilts on canvas. I do not remember where I read this or the exact method the author was pushing so I had to try my own thing. I just stitched the work to the surface- only at the top this time.
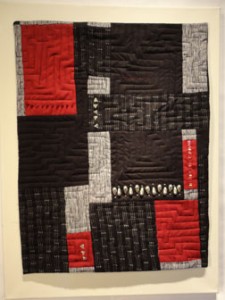
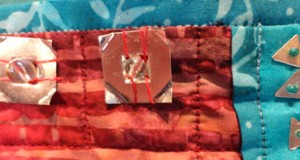
This quilt grew out of the Adventure Challenge . I made this background for the biases work and it is strong- but far too much action for the biases strips. I like the color balance here. The mounting process does shows off the quilting well. I like the way the beads show up here as well.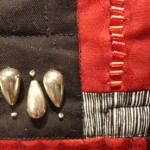
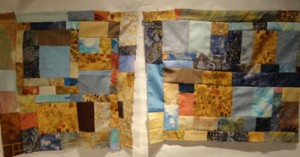
I am learning that I must really keep myself in check when I am building a small back because I get into the design process so much this type of thing happens. The work that I referred to at the beginning of the blog is one where I have let that happen. Over doing is so easy for me.
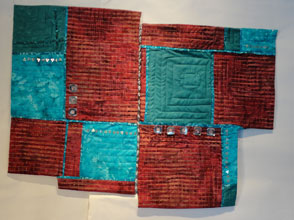
Mini Series I have lots of old quilts. Some I am reworking like ” The Moon She Called Me” ( Feb 2 posting), but after talking with my friends Barbara and Beth at there studio a few weeks ago- they suggested I look at some of the older work and try to make them into smaller units. Here is my attempt.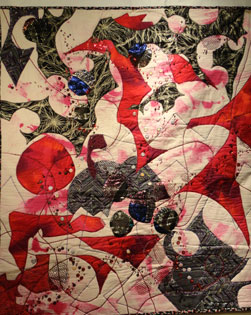 This quilt- Juggling a Friendship was 38″X44″ and it was created in 1994. Now I feel there is just too much happening in this work so seeing it is a prim candidate for the cut up. I made a frame with a 5″X7″ opening and moved it around on the surface until I found an area I though was pleasing. Then I pulled up my courage and cut……..
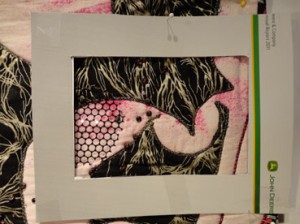 I kept moving around the surface until I ended up with a dozen little works that are about 7″X9″. That size because then I can put them easily in standard matts and frames. I then zigzagged around the raw edges to stabilize them.
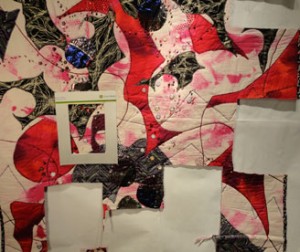 I discovered that the edges would not warp as much if I put paper under the edges. The picture shows the pile of mini’s with the paper bound pieces in the top. It is going well I think and I am happy with the little works. Now I am off to do the framing and the glass.
 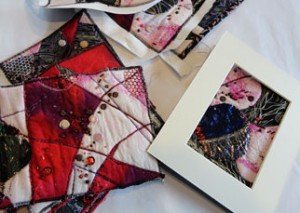 I hate to admit that the pile of scraps is calling up a new idea too……..
I hope you are all being creative and enjoying the wonders of the season. Have a productive week.
Hugs
Carol
