Category Archives: Creative Assistants

Winter Ice


Hello,Ice

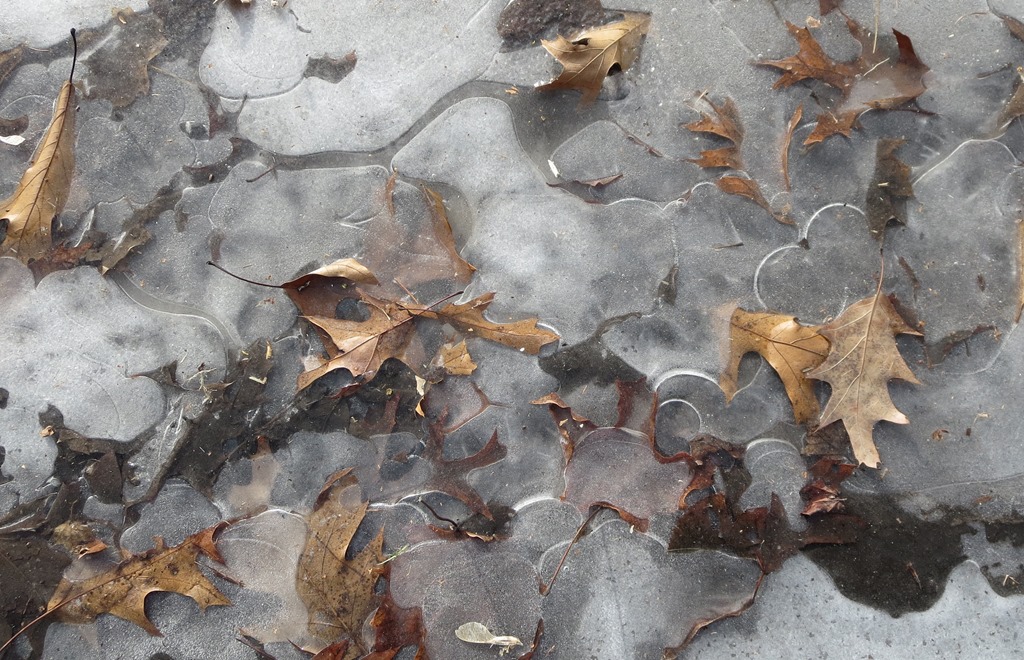
I am paying special attention to ice as I slipped and fell last week.  I am fine.  This shot of ice along the street really shows how water shrinks as it freezes.  I love all the layers of air pockets in this shallow pool along with the leaves for extra texture.   I took lots of photos of ice this week so there may be another ice quilt in the future.

IMG_4958
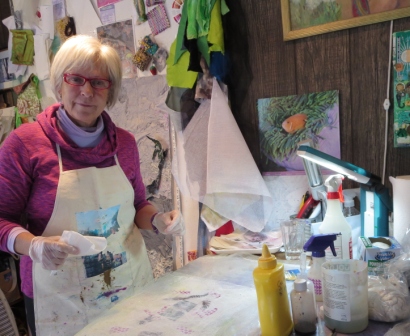
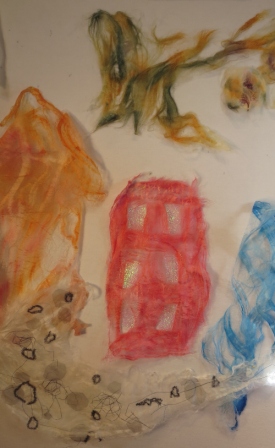
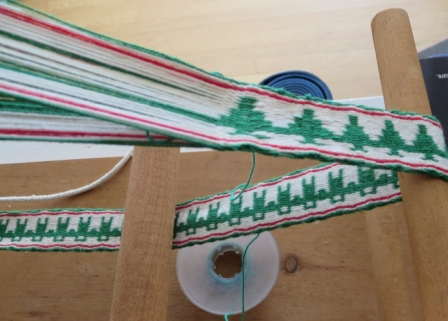
Angela is having a play day in her studio tomorrow and we will be printing with interfacing stencils.   I got carried away as usual with my preparation and made 4.  I will show the results next week.

Autumn Leaves
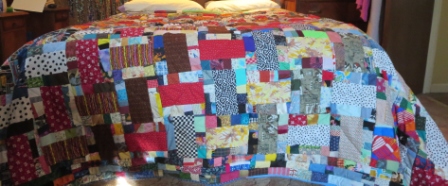
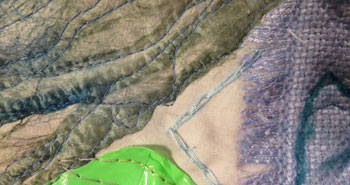
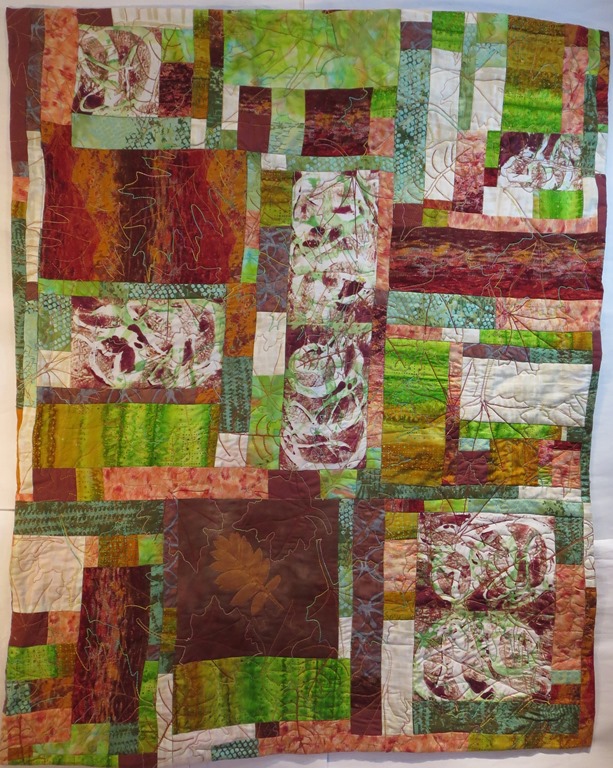
Progress Report: Autumn Leaves This is the last  of my leaf series for the time being.  I had a good time doing bobbin work on this piece as well as the free motion quilting of the leaves on top.  IMG_4952  The out line of the leaves was done with cord that was so thick it could not go through the eye of any of my machine needles  so that is whyClose up of Autumn Leaves 
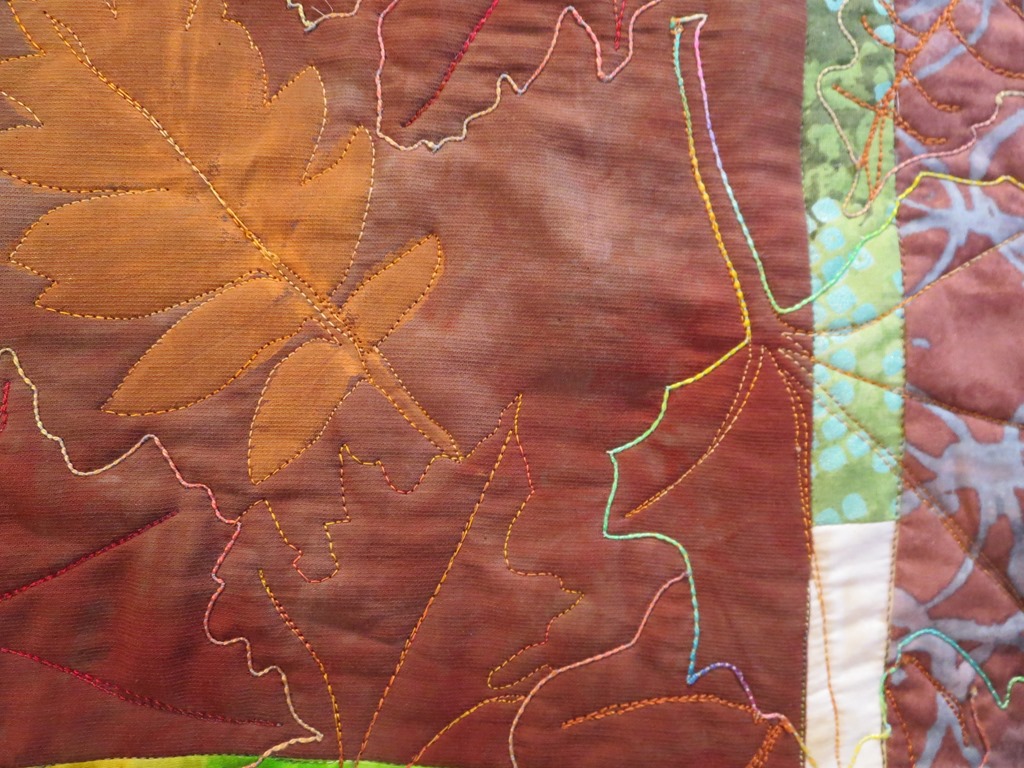
I put it in the bobbin and drew from the back.    I then changed the thread and did the vanes  from the front.    I also used this one last piece of printed fabric  from one of my trips up at Mill Site Lake .    The rest of the leaves are from trees in my yard.  There are two different types of Oaks  and Maples.IMG_4950


Coastal Color 2
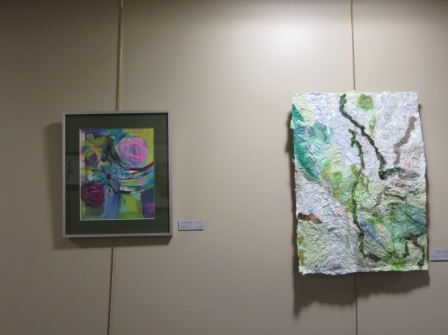
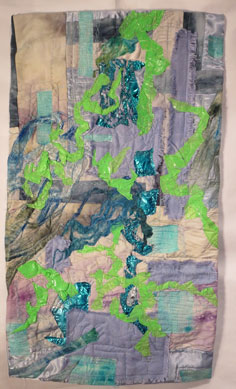
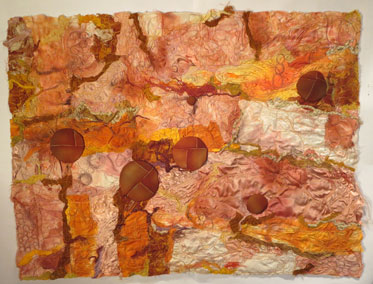
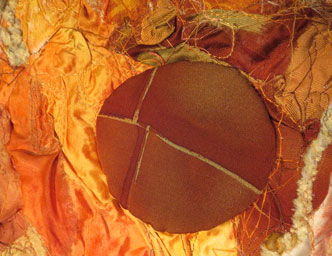
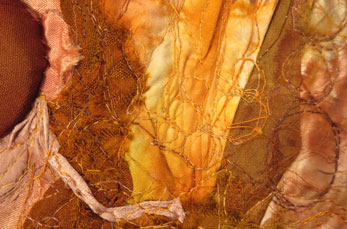
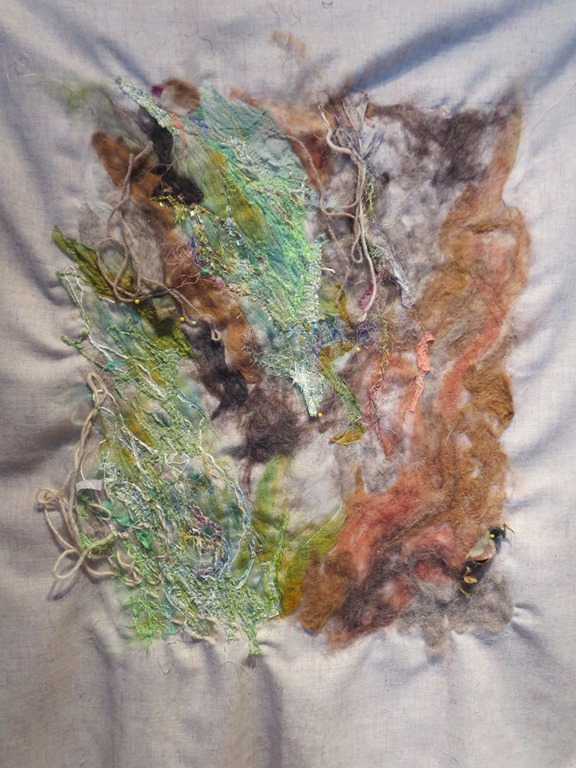
Coastal Color 2   I am having fun adding to this felted piece.  I really like the build up of the texture with stitches and yarns for color.
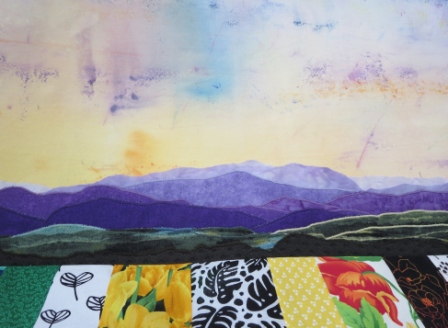
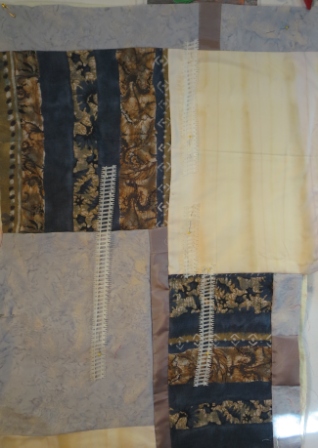
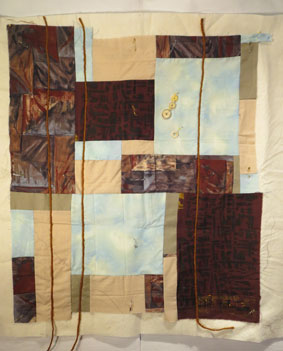
 

New work fuchsia   New work 
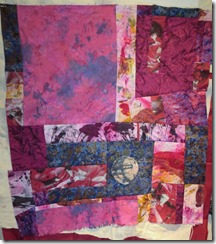
This is the third  top  developed from a collage.    I also meant all three of my personal monthly challenges with this piece.  The challenges are: 1. to use some of Ethel Fabric in a work.    2. to use some fabric I have altered in a work  3. to use a collage as a starting point.   Now I need to decide how I want to quilt this piece.


new work
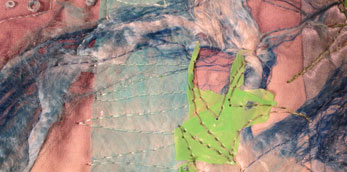
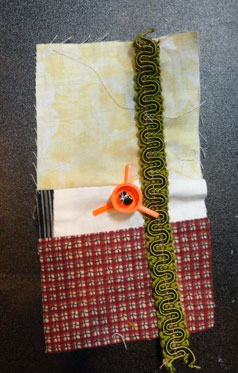
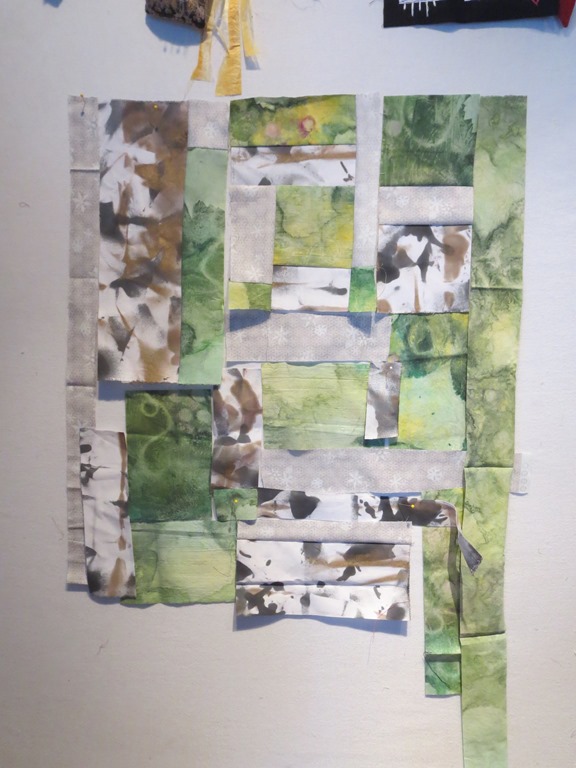
New Work green This top is not quite finished yet,but close.  I have always been interested in how things work and seeing the insides of stuff.  So when I got a new IMG_4954_thumb.jpg
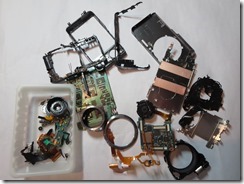
camera last year because I had dropped the old one, I did not throw it away.  I finally took it apart this week .    I love all the little plastic and electronic parts and so I decided to make a top to stitch them too.    It will be a stitching challenge of  sorts.

IMG_4955.jpg
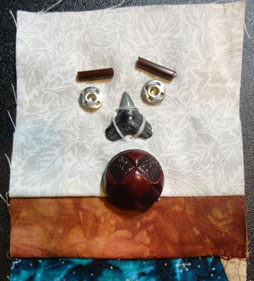
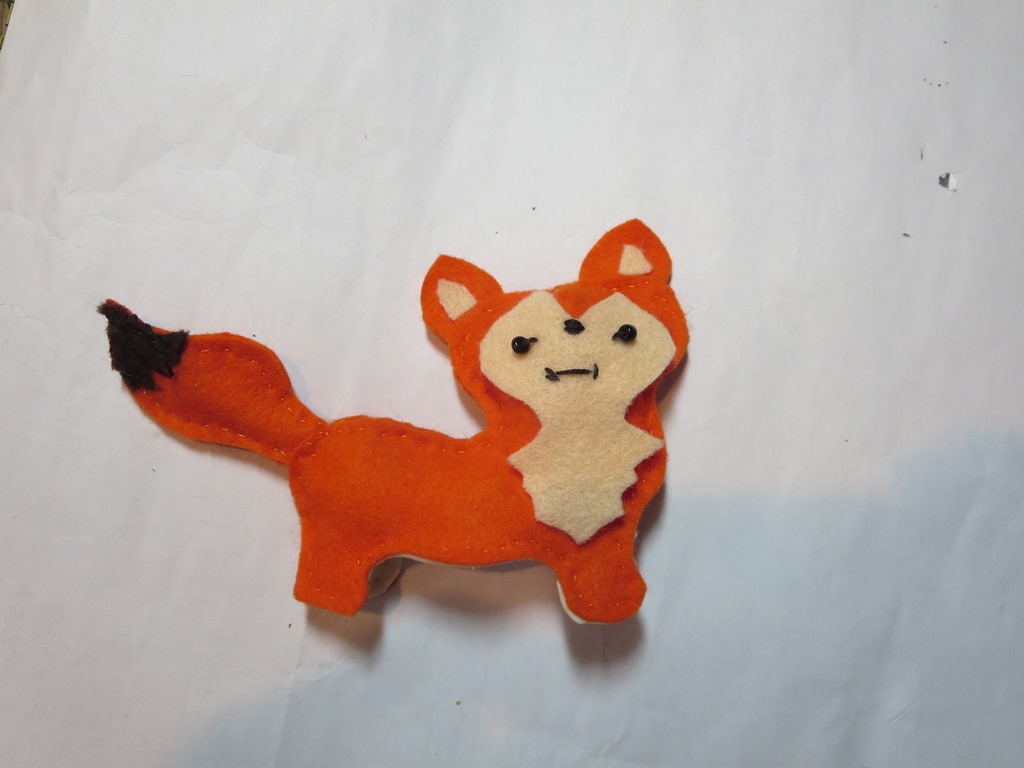
Little Fox  I made this little fox pin this week too.  After receiving positive feed back and having two friends ask for pins of their own,  I  decided to make a tutorial on how to make this fellow.  It is started and I will finish it this week.
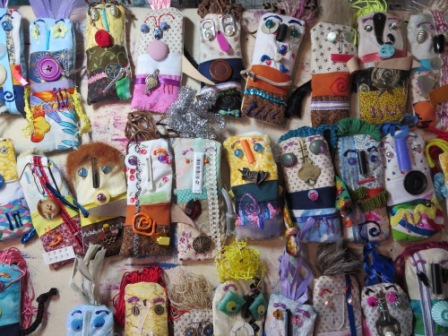
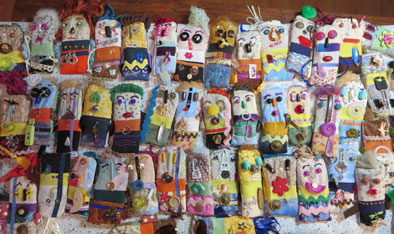
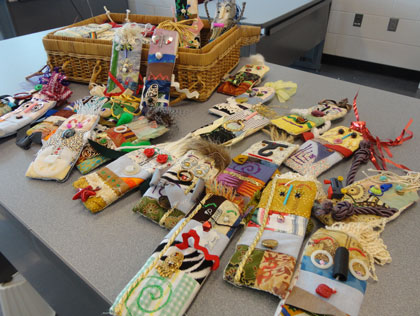
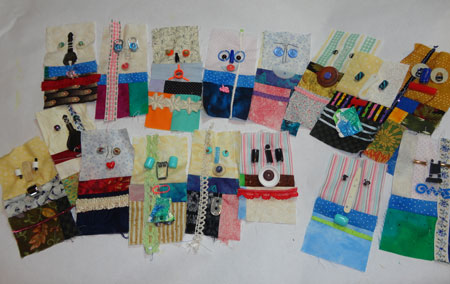
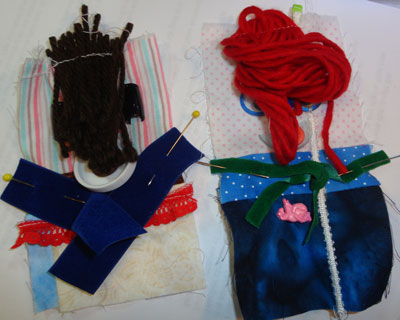
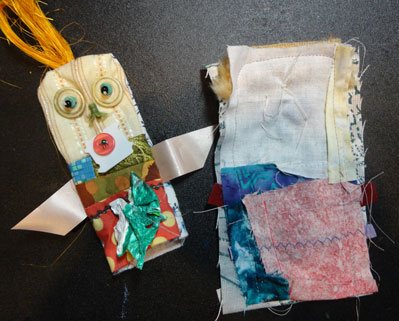
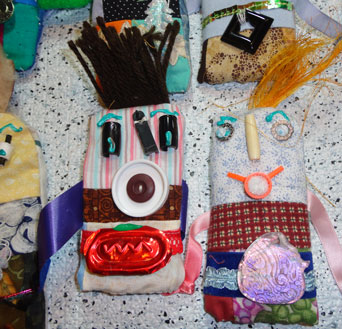
 

 Creative Assistants  Creative Assistants
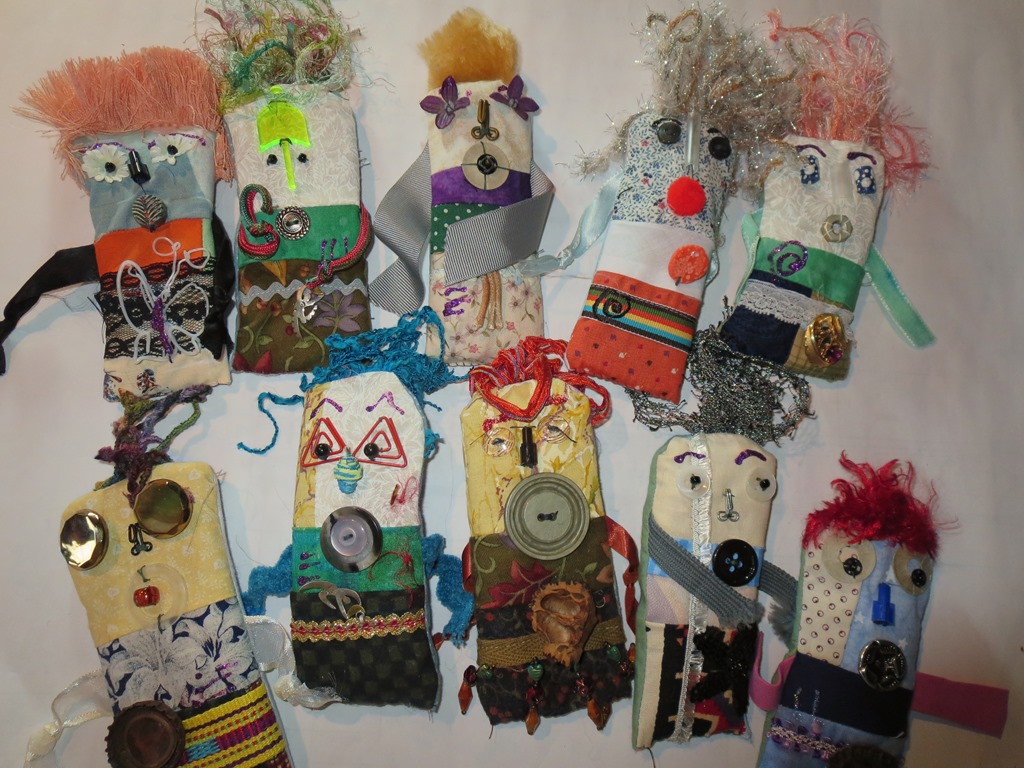
I finished off 30 creative assistants this week.  This is a shot of the last ten.    It sure goes to show how easy it is for me to improvise.
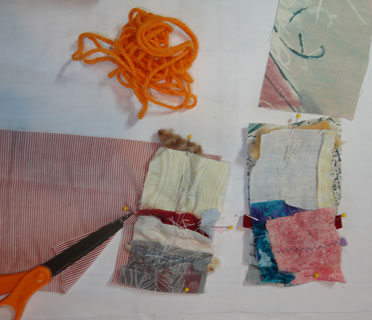
Label Block #35IMG_4956  I just keep working away on these little guys.

Keep Creating

CarolIce


My word for 2015


??????????????????????????????? ???????????????????????????????   Hello,

I try to choose a word to concentrate on every year and in doing that I find I pay more attention to my actions.  Last year I selected EXPLOIT.  I tried to make the most of  every experience and situation I encountered.   I do not know how one measures the success or failure of such a venture- but it did make me try to use each day/event to its fullest.  It has almost become second nature with me now.  It is time to focus on a new  word/concept.   I have been thinking about the idea for the better part of January and I have decided to think/concentrate on an art concept this year.    I have selected LINE as my focus word/idea for  2015.  I will now make a sign for myself to help keep it in sight and focus on it.    Look for some thoughts on this topic next week.

I have had a good week.  Cris Winter came and we had a great Nancy's mountiansplay day.  We made  Fused Silk Papers.  It was fun to play with her as she had lots of different ideas about how to use the silk  paper.   I would not have inserted the plastic ribbon into the surface without her suggestion.  ( the red building has the plastic ribbon in it)   I also played a bit more with the shape due to her influence.  It is good to explore and try new  stuff I think.

Nancy has made great progress  on her quilt .  I really love how she has developed  the mountains.  I am so proud of her.

Gallery ShotThis shot is of the Inside Out show at the Manillus  public library.    By friend Barbara belongs to the group- that is her work on the left and she invited me- my work on the right.  It is a fun show with lots of different types of work in it.


FAB meant thisPatti's  Card  Weaving week too.  Patti is doing card weaving and creating a great tree pattern with the cards.  ( the figures are the back of her project)    I never learned how to do this process, but I remember my mother doing it when I was a child.


Progress Report: Scrap Happy # 3   Now the third one in this groupingNew Scrap Happy #3 is complete.  I have parts set for three more so these will keep popping up for a while.  As I said before I sure love the new open space on my shelves because of doing this project.


Creative Assistants  Creative Assistants   I finished a new batch of these little pin fellows this week.    They are just fun and I enjoy the process.  About 30 more have faces and will need to be completed this week.

New work


New  Work This work is not getting much attention while I am working on the Creative Assistants because it is ready for the hand work and I have been putting all my efforts into the pins.   I can see the end of that project so this one will get my efforts soon.  I am trying to decide what color I want the thread work to be at the moment.

I hope you are keeping warm.

Keep Creating

Carol

More Fall Stuff

Creatie-Assistants  Hello-

Fall is still all around and painting the landscape here with color.   I love it.

When football season starts, I watch and spend my time making  my Creative Assistants.   This is the  first batch of 49 that I have completed.  I so enjoy the process and it does make the football go by faster for me.   It seems the games have lots of time when there is nothing  much going on- but commercials, so I stitch away.BO29-QBL2    I  enjoy giving them away when I go to Quilting by the Lake every summer.   ( there is a tutorial on how to construct your own Creative Assistants below)

I am taking a class called Deconstructed  Screen printing with Kerr Grabowski. It starts today and lasting for three days.  This is my pile of stuff for the class.  I am sure I will come home with lots of  new altered fabric to use.


Spill 17" X30" $185
Spill
17″ X30″
$185

Progress  Report: Spill  I had a good time working on this piece.   I so love texture and this one has lots of different materials that add to that.   There is the usual cotton of course, and my current  favorite – silk paper then I added iron melted plastic bags and  turquoise mylar as well as satin, and course woven silk.  I added hand stitching t in the form of french knots, button whole stitches and chain stitches to the surface as well as machine drawing too.   I  am pleased with the results.

Spill-cl3This piece BO29Spill-cl1fits very nicely in a little nook in the wall.


Spill-cl3


Watermarked Sandstone 33.5" X 25" $305.00
Watermarked Sandstone
33.5″ X 25″
$305.00

Watermarked Sandstone- Foundations XXIII     I am finally finished with this newest  member ofwatermarked-sandstone-c BO29Watermarked-Sandstonew-the foundations series.  I really enjoyed the free motion work on this project.  I had a good time doing the painting on the surface of this piece.  Adding the iron nodes to the surface was a bit of a challenge as  I tried them in many different locations before I finally selected this layout.  Then when I was shooting the work Watermarked-cl3for this entry I discovered that I like it on a 90 degree  turn from the direction that I had been looking all the time I was working on the construction.   One always needs to be open and aware of what is in front of them.

New-workNew Work    As I was nearing the end of my work on  Spill I realized I needed a new piece to do hand work on so I looked  through my sketchbook of ideas.  I came across this old idea of using circles  and lines for a piece and though I would try it. I have a box full of old Saxaphone keypads that a friend had passed to me and I thought this would be my BO29padsopportunity to use them to express this idea.    There are so many different sizes, colors and textures here- I am sure I will have fun with this work.

I hope all   enjoy the colors of the season and the kids all dressed up for Halloween.

Keep Creating

Carol


Tutorial- Creative Assistants

 Hello,   

Every fall I try to add a tutorial to my blog.  This year I am adding how I create my little Creative Assistants that I give away at  the  conferences I attend.  The little pins make folks smile and create great a great way to connect with fellow creative souls. They are also a great way to use up all the bits and pieces that seem to find there way to the bottom of sewing baskets and drawers.    Have fun.

Materials list:    Scraps, card stock,  thin batting or polar fleece scraps, pin backs  .  Materials for faces: buttons, beads, little plastic or metal found objects- like paper clips, safty pins, cap liners, plastic rings, old broken bits of jewelry. ect.  For hair, yarn bits, old fur cut offs, ribbons, lace ends, scarps of leather- all of these can be used for arms too if they are a bit bigger. 

 Sewing kit( scissors, needles, thread ect) Sewing machine


QBLCreativeAssistantsCreative Assistants     Tutorial

1.  

     Base: To being this project you will need your scarps.Tutorial1

      I try to cut them down to strips that are two and a half to three inches tall –and some that are two to one and a half tall, plus a third one that is one to a half inch units.  I do not worry about being precise about this.  Then I sew all the pieces in the same size range together. The result is three long strips of the three different sizes.  I then sew the smalls strip to one of the others and trim off the excess as necessary.  The next action is to sew the two unit strip to the last strip with the slender unit in the middle.BA1tutorial3  

BA1Tutorial6     2.Sizing:  The next job is to cut the long colored strip into base units.  This is a vertical cut across the seams into three inch units.

3.  Embellishment 1:  I then go to my trim and short yarn box and attach a bit of color to each unit. BA1Tutorial7 I usually do two units with each trim and then change the trim so there is lots of variety.  I sew one bit of trim vertically on a base. BA1Tutorial8 I look at the base unit and decide what will be the face area- I sew the trim below the narrow strip or across as horizontal embellishment.  Sometimes I also sew a strip vertically for a different look.

Facedfigures     4.  Faces: The next actions are done by hand:


 mouth   Mouth: The next step is to add the faces in the top or lightest area of the base strip.  One Button, bead, heart shape, bit of straw, cap, small spring, or washer can become a mouth if it is added in the lower center of the face.

    Nose:  Any longish object placed on thenose vertical can become the nose: hair pins, pen parts, bugle beads, pipe cleaner, paper clip, plastic strip, ect


-face c.   Eyes: Here you need two- one on each side of the nose. I like to put two items together to make it more fun sometimes, but that is not always the case.

      Eyebrows are optional- they can add a lot of expression though.

5.  Embellishment 2: I sometimes add old bits of jewelry or small toys to the bottom sections of some of the dolls.  I let the work guide me on this step

6.  Hair: Back to the machine.TutHair  Bits of yarn, string, ribbon, thread tangles, fur, ect is added to the top of the head area.  I loop the yarn about my fingers a few times before I sew it down.Tut-pinnedarms

     7.  Arms:  Leather scraps, cording, heavy yarns, pipe cleaners, holiday ribbon and other heavier materials become arms.  I tie a knot in the end to give the feel of hands.  I pin the arms in place and sew them just above or near the middle of the body. 


    8.  Back:   To create a back I cut six to eight  inch long strips to serve as my backs.  I place the finished body unit face down on the good side of the strip and cut it so that it is the same leanth. backs-and-pinning Then I fold up the bottom of both the back and front of the doll one fourth inch and pin.  I pin the body together and them sew around to connect the two units leaving the bottom open.


9.  Body: Clip and turn the body unit right side out.CTturned-and-readytotrun


10


10.  Stuffing:  I cut long two inch strips of card stock.  Body-stuffingThen I cut batting, polar Fleece scraps  or felt scraps two inches wide.  I create a sandwitch with the card stock in the middle and the scarps on the out sides – I  zig zag down the center of the strips.

     11.  I trim the padded strips to be just a bit shorter then the body and trim the corners that will be the top.  Then I slide the padded strips into the body and stitch the bottom closed and add a pin back to the Creative Assistant. 

     12. I then look at the dolls.  I add a bit of squeezie paint if some is needed.  For eyebrows; a extra bit of color in the mouth area; or more decoration on the bottom.  When they are dry they are done except for the signing.  Pass out to your friends and enjoy the smiles they bring to their faces.     

 Hugs 

CAROL   Creative-Assiatants-Tutoria