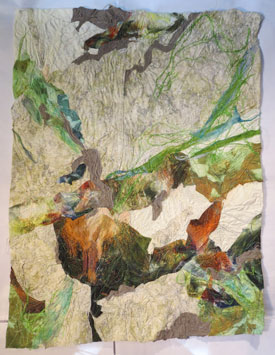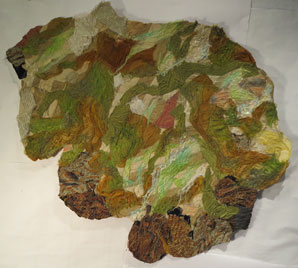
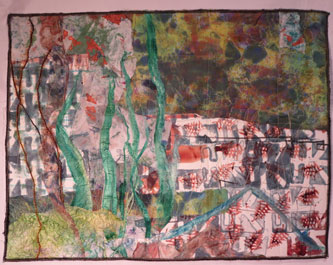
33″ X 29″
$340.00
Hello
It is good to be home and after I recovered from my jet lag I enjoyed getting back into the studio and working. I think having something partly finished helped me get started too. So I will jump into the Progress Report.
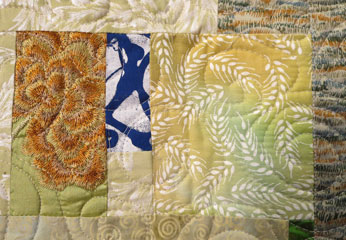
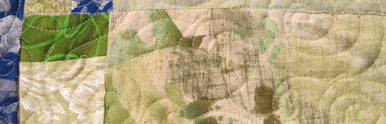
Progress Report: Foundations XIX Mossy Stone As this image shows I am now done with this quilt. I am not sure about 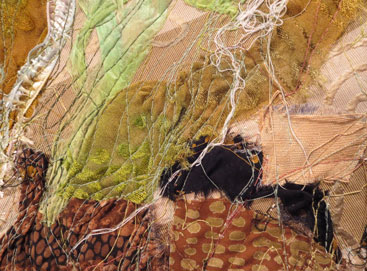 how to declare the size, but have settled on measuring the distance at the longest points to come up with the numbers. This quilt has a very large number of fabrics in it as well as threads, yarns and some silk paper. I enjoy the extensive thread work that finishing the quilts in this series requires. The thread patterns create nice direction and flow directions to
 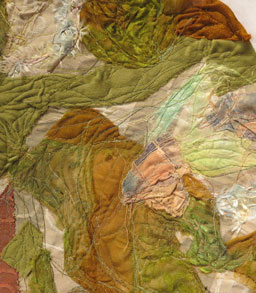 my eye and when I get to that step it is almost meditative in nature when I am working away at it. I do not see the end of this series any time soon- it is just too much fun to see how many fabrics I can use and how many textures I can include in the process.
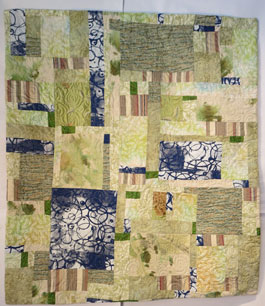
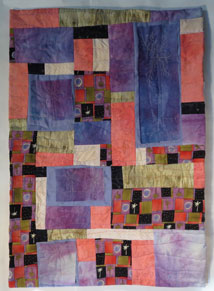
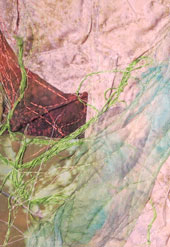
Growing in the Dark – Paper Quilt
Paper Quilt
16″ X 21″
I took a day workshop in using the Gelli plate on the weekend before I went off to Paris. I made a lot of wonderful paper and fabric printed images. I decided to challenge myself and use some of them to do paper quilts again. I have not done that style 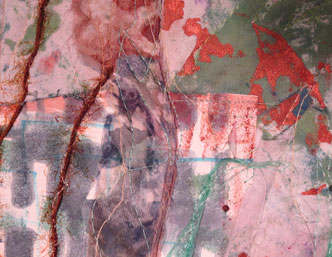 in over two years so it was a bit of a challenge just to recall the process. The Gelli Plate process is full of chance and I really like that aspect of using them. Paper is in the bottom section of this shot and fabric in the top- they do take the paint /ink differently , but I like them both. This work because of the nature of the stiffness of the paper
 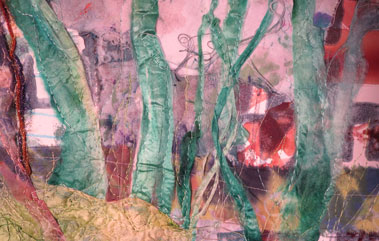 requires that one work smaller. I can only roll so much under the machine arm. The paper also is a much flatter material so it goes together much more quickly . I added in some of the silk paper as you can see here and it works well with the other materials. I have pulled another pile of paper and fabric from the workshop to start another soon.

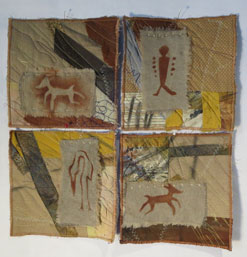
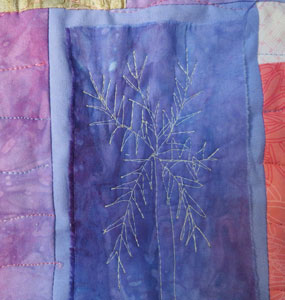
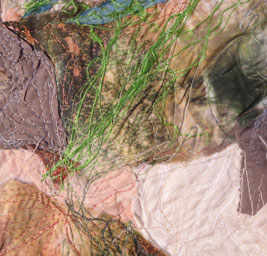
Three Trees This work is coming along. I made the base of the trees on wash away with a dark gray green wool and then added black yarn on top with machine stitching. I then trimmed the away as much of the wash away as I could before I submerged them in 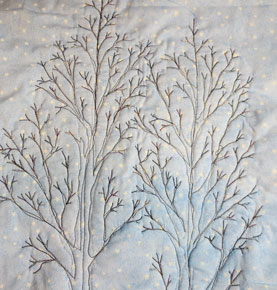 hot water. When they were dry I arranged the trees on the surface and sewed them down. I loaded my bobbin with brown embroidery thread and the top of my machine with black. I turned the quilt over and did free motion drawing of smaller branches in the trees using the outlines of applying the trees to the top as my
 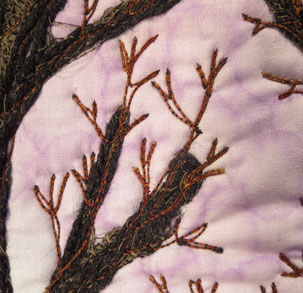 guide. This shot of the back of the quilt helps show what I did. This closeup shows all three processes. The dark green is the wool, the black is the yarn and the brown is the thread. This project proved to be a very good way to get back into the free motion process for me.
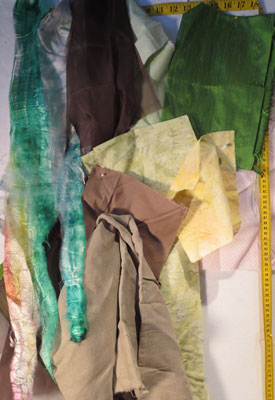
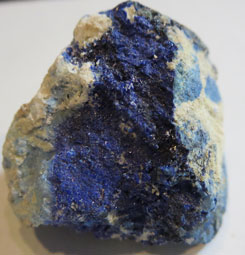 Foundations XX- Asurite This is my new inspiration stone for the new work in the series. The first step is to cut the bucrum in the shape of the stone. Then I start pinning the background fabrics to the surface.
 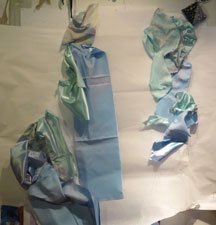 I did the light area first this time and used two different blues and some hand dyed that had blue, white and gray in
 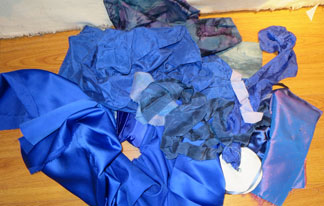 it. I then pulled a pile of blue fabrics that I thought could work and piled them on the floor below the
 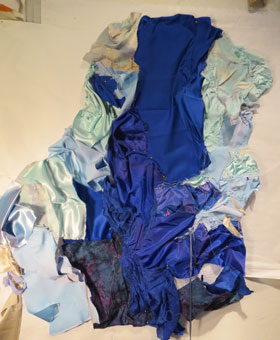 pinwall. Having them at my feet meant I could pin look down and cut the next piece I wanted with ease. I continued building on the surface until I had the whole color areas built in. The next step was to begin to
 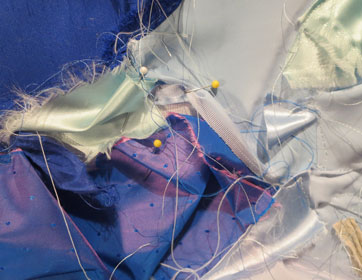 stitch and pin more into the work and start to build the surface. I like to work in this free form way and let the process guide me along. It does mean that I stop and pin the work up frequently and look at the work, but I like that step as well.
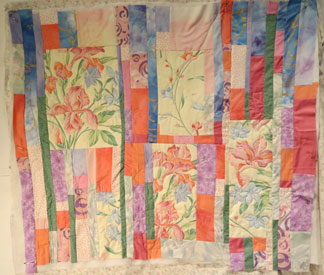
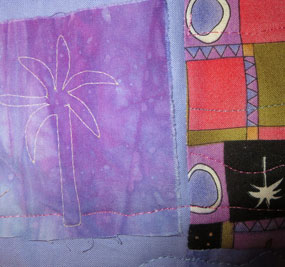
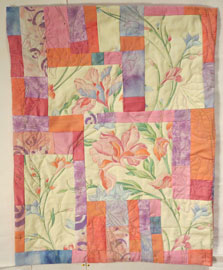
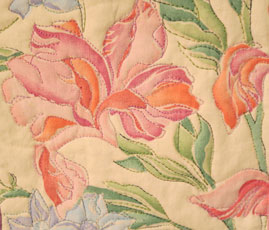
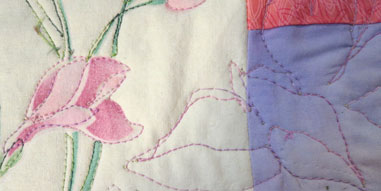
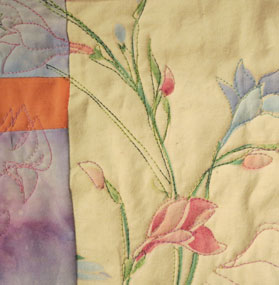
 Spring Iris I am doing the free motion outline step of this work now. I was so happy to see the Iris in Monet’s garden and I took a lot of photos. I think I will try to add a bit of applique on top with the photos in mind. I am not sure how I will do this yet- but I am thinking on the process.
Red Canvas 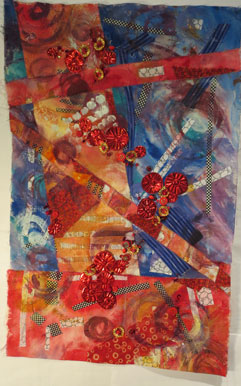 I started the painting process of this work in the fall as a play day with Cheri. Seeing the great way she used what we started that day at the Diva Meeting in March got me to pull the canvases I had created out again. I cut them up and then zig zagged them back to create a bigger unit. I then painted on top again to add more depth. I was still not happy. So I have now done some hand work and I think I am nearing completion. I added beads, buttons and some altered metal to the
 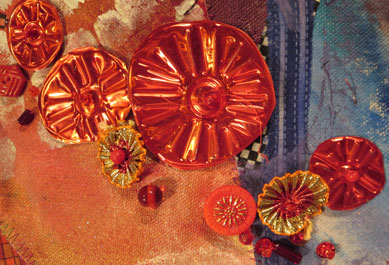 surface. I need some assistance as to how to finish this work so I will take it to the Diva meeting and get some help.
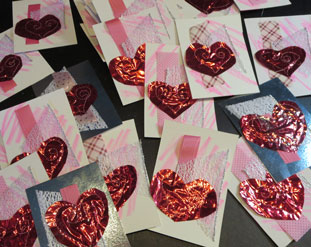
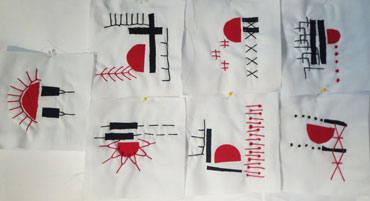
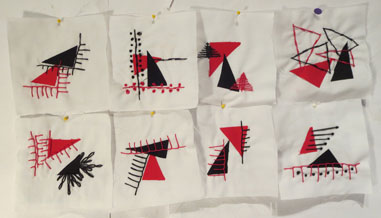 Daily’s I think I am done with this series as far as making the little units is concerned. I have eight more and that will complete the thirty blocks I have with the two triangles on them. I have done this daily work for eight months and feel I am ready to find and ending place and move on. I will take this week as I finish the blocks to decide on a way to complete the project and to think about a new daily or weekly challenge.
Keep Creating
Carol