 Hello,
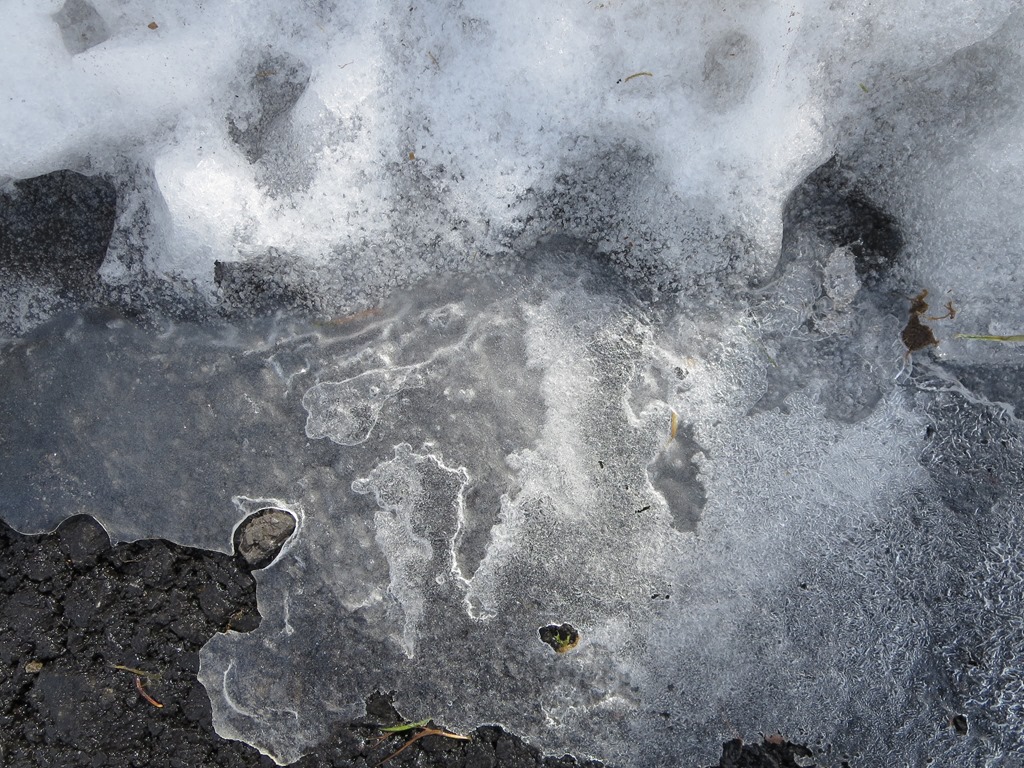
We are starting to see the melting of the snow around here. It is beautiful in its own way. But it can become very dirty and discolored before its gone. With the longer days I find myself spending more time cleaning and sorting. I seem to have the clutter rule of “ One thing in one thing out” well under control in my closet and dresser drawers. But that is not the case in my studio. I have piles of stuff all around and I need to do some serious culling. I know that a clean and clear space helps one get going on the creative work and I do love to walk into that sort of setting. But I have been traveling and working with 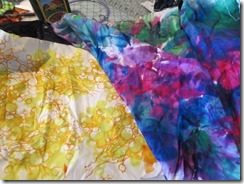 others so much of late, that I have let the materials pile as I rush from one play date to another. I have done a good job a voiding going out and spending money on new supplies and materials however. I have kept my spending sense January at less then $35. Not bad for two and a half month I think. But it is the gifting of stuff from those friends that is getting me into trouble. I did spent yesterday with my friend Ethel doing screen dye printing. It was great to play with the rich colors. Now I have all the rinsing and
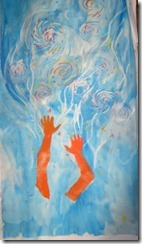 washing to do today. She also gave me a couple of yards of white duck…… I am hopeless!
I did work a little on the Challenge Project Susan and I started in Florida. I added a blue wash to this piece and think I have decided on the text that I want to add. I can already see that the word part of this challenge will be the most difficult for me. I plan to add some beads tomorrow when I go to see my friends at Turquoise Street studio.
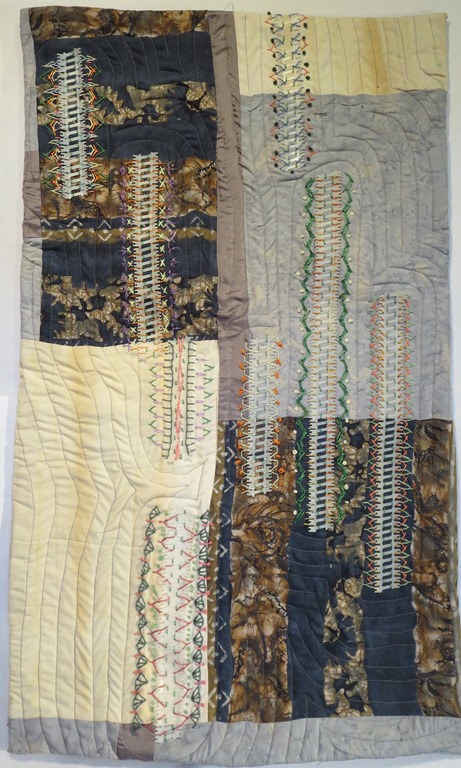 Progress Report: Nail Castings This project started as a result of finding the white plastic units that hold nails in electronic nail guns. I was fascinated by the shapes
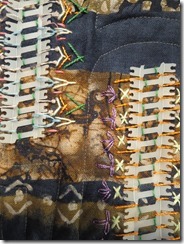 of the things. I have enjoyed working away with thread out of Grandmother Ruth’s needle basket and exploring different
 types of stitches.
Name Game 1-Carol 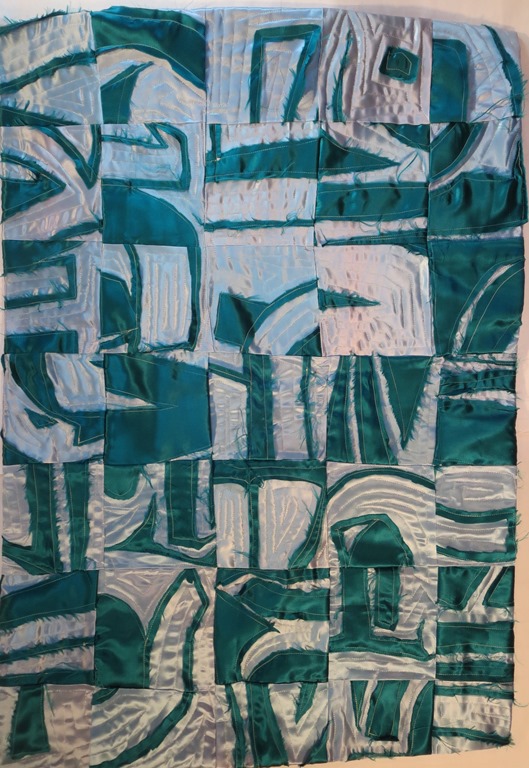 Now I know I say that words are not my strong suit- but I do love the shapes of letters and the spaces around them. To build this top I first printed
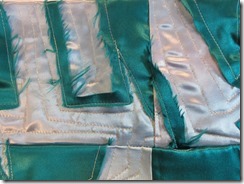 out my name in very large letters. 22″ tall and 22” wide in fact. Then I stitched around the letters and cut away the negative space. I stitched the negative spaces shapes to a second pieces of light blue that was also 22” X 22”. I found that the letters them selves created units of the turquoise that were too big. So I cut just inside the stitch lines
 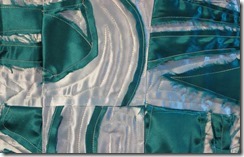 and then added those new shapes to the negative space piece on the second fabric. Next I cut both pieces of fabric into 5.5” squares and began playing with the blocks. Some I turned side ways or even upside down, always paying attention to the relationships of one square to the ones next to it. This play part took me a long time and several days. When I was happy with it I sewed the blocks together. This is such a fun and challenging design project I started a second as soon as I had the top all assembled.
Name Game II – Lexi This second top went a lot faster as I knew were I thought I was going. I made this one more complex by using a plaid taffeta for the background fabric. I also made more blocks and will not use all of them in this project. I think this will create a stronger piece in the end. In this shot some of the blocks are sewn to one another.
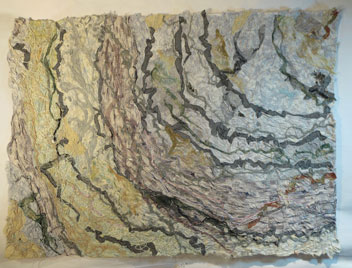
Memory Map- Canyon de Chilly 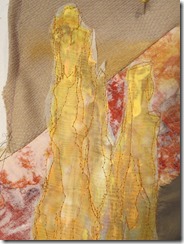 I added the Spider Women’s Towers to this project. I really enjoy working on these Memory Map projects, but they as all very slow in there development. The ruins are also attached now too.
 I am still trying to decide what other elements I want to add to the work.
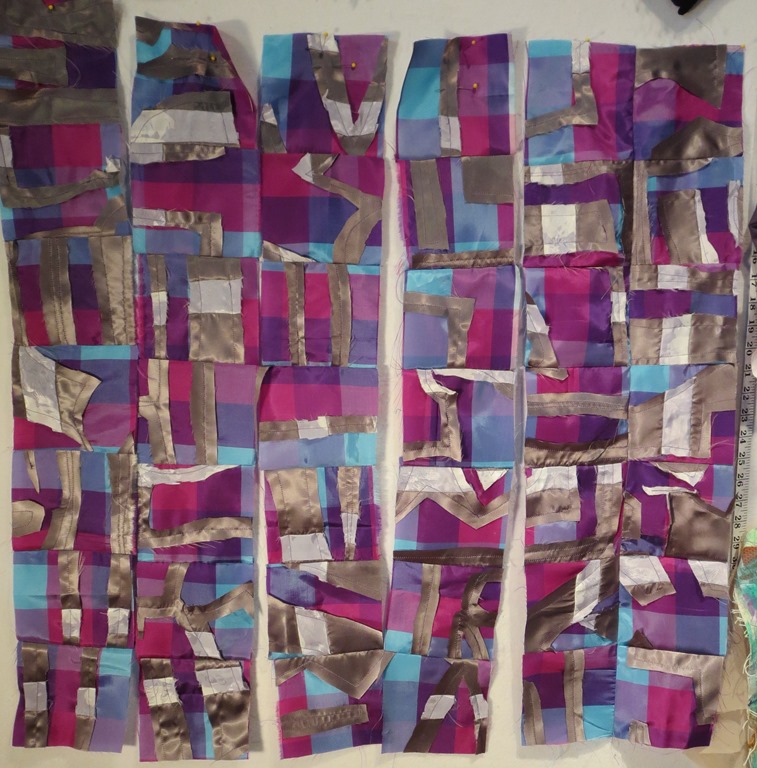
Whip Shock Hill II I want to enter a show where one needs two quilts that relate to one another. I have been thinking about how much I enjoyed the work on Whip Shock Hill. The first project shows less then half of the hill so I though I would use this challenge to do the second half. This is just the roughed out
44″ X 35″
stage. But I do not think I have shown this step before when it comes to these type of collage projects that I do. The base fabric is only pinned to the buckrum at this point and no stitching has been applied. This second shot is of the first piece.
I am keeping myself busy as the Spring season gets going.
Keep Creating,
Carol