 Hello,
The woman who works with her hands is a laborer. The woman who works with her head and her hands is a craftsman. The woman who works with her hands , her head and her heart is an Artist. St Francis of Assisi
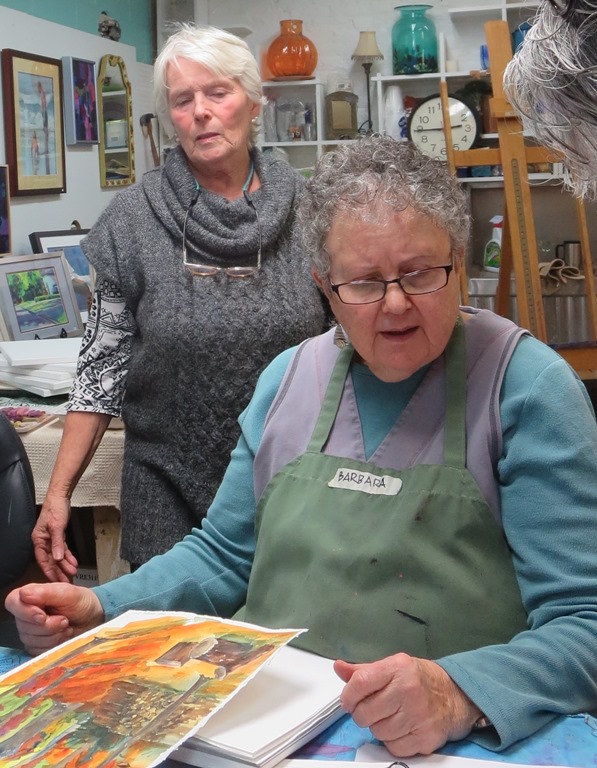
This quote really spoke to me this week. My wish for all my friends is that they be Artists. I spent a lot of time with those artist this week. One day I went to the Turquoise Street Studio and work with three other gals. Beth was doing pastels, while Barb and the other two were painting. What a lot of fun to work with this energy flowing.
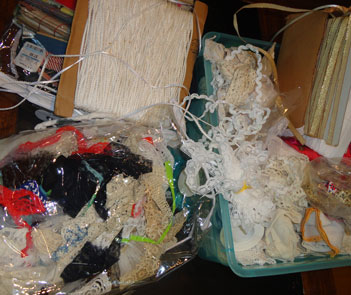
Then because it was the beginning of the month the QuIGs and 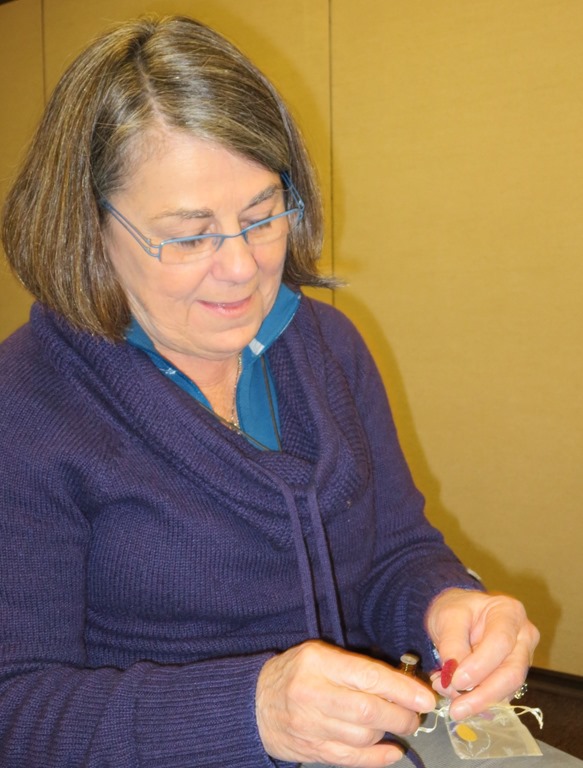 Diva’s meant too. The gals in those groups help me so much when it comes to problems I have with my techniques. I learned a lot about mixing different types of fabrics this week. Corrine was showing off her daughters aromatic jewelry at the meeting and she even sold one.
  Then yesterday the FAB group meant at Patti’s house. She shared beautiful fabrics from the far east with us. There was wonderful weaving in all of them with lots of color and gold threads. My one other event this week was to be a part of the judging of Scholastic Art. I so enjoy seeing what the middle school and high school students are doing when it comes to art. It was very enjoyable.
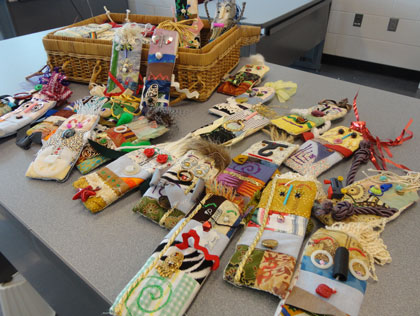
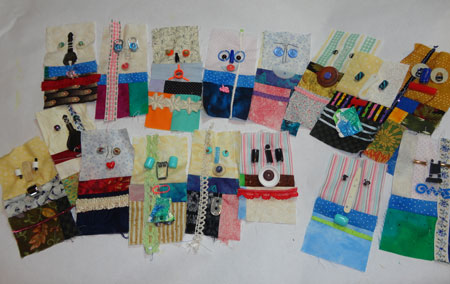
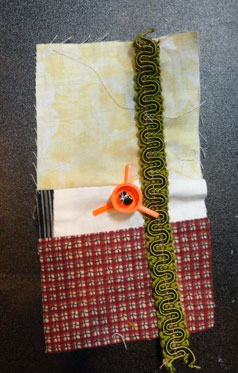
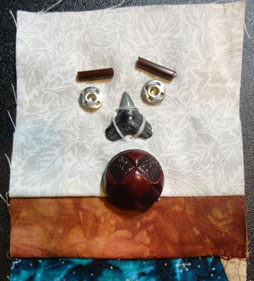
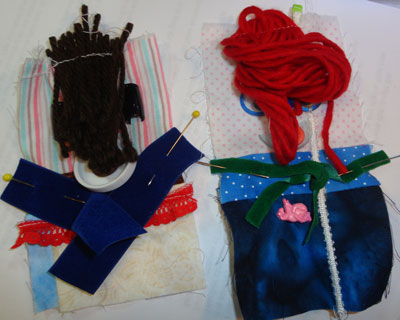
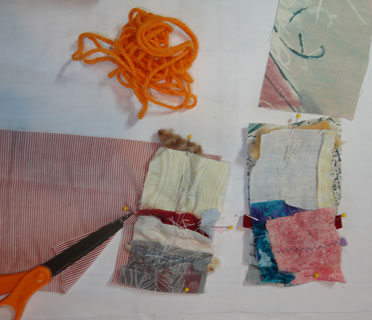
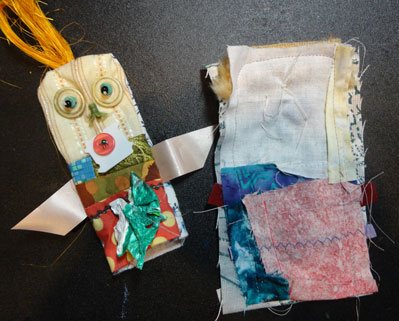
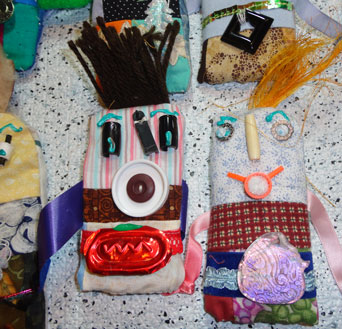
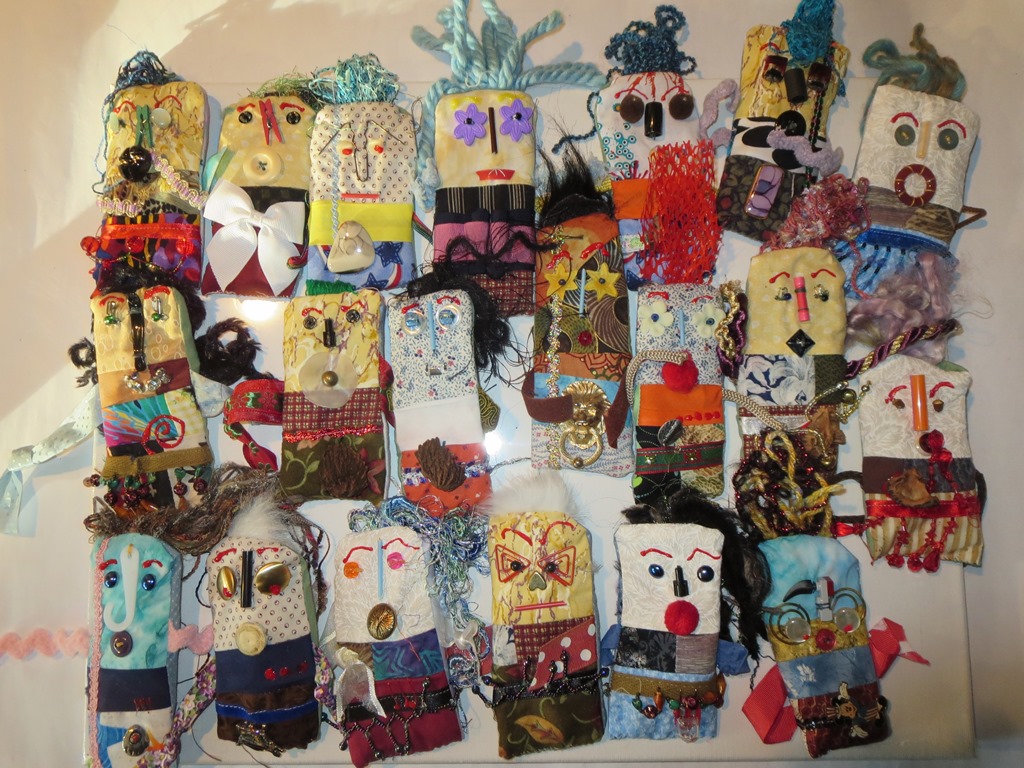 Progress Report: Creative Assistants While I was at the studio with all the other artists I worked on these little guys. I was only stitching them closed and adding a pin to the back, but I got 20 of them done. I added the paint when I got home and they are now ready to pass along to others.
Williams’s Quilt  I finished the stitch in the ditch quilting on this project this week. There were lots of lines to do. Now I am ready to start to do the binding. It will take about and hour to do each side. It is a bright colorful work – just great for an active little boy.
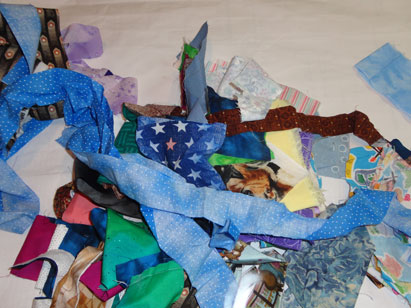
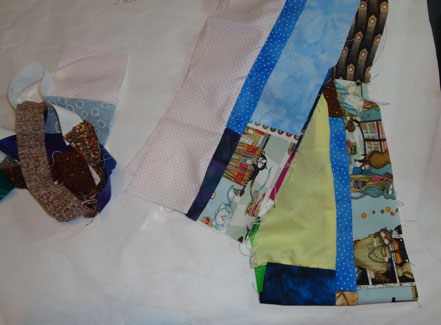
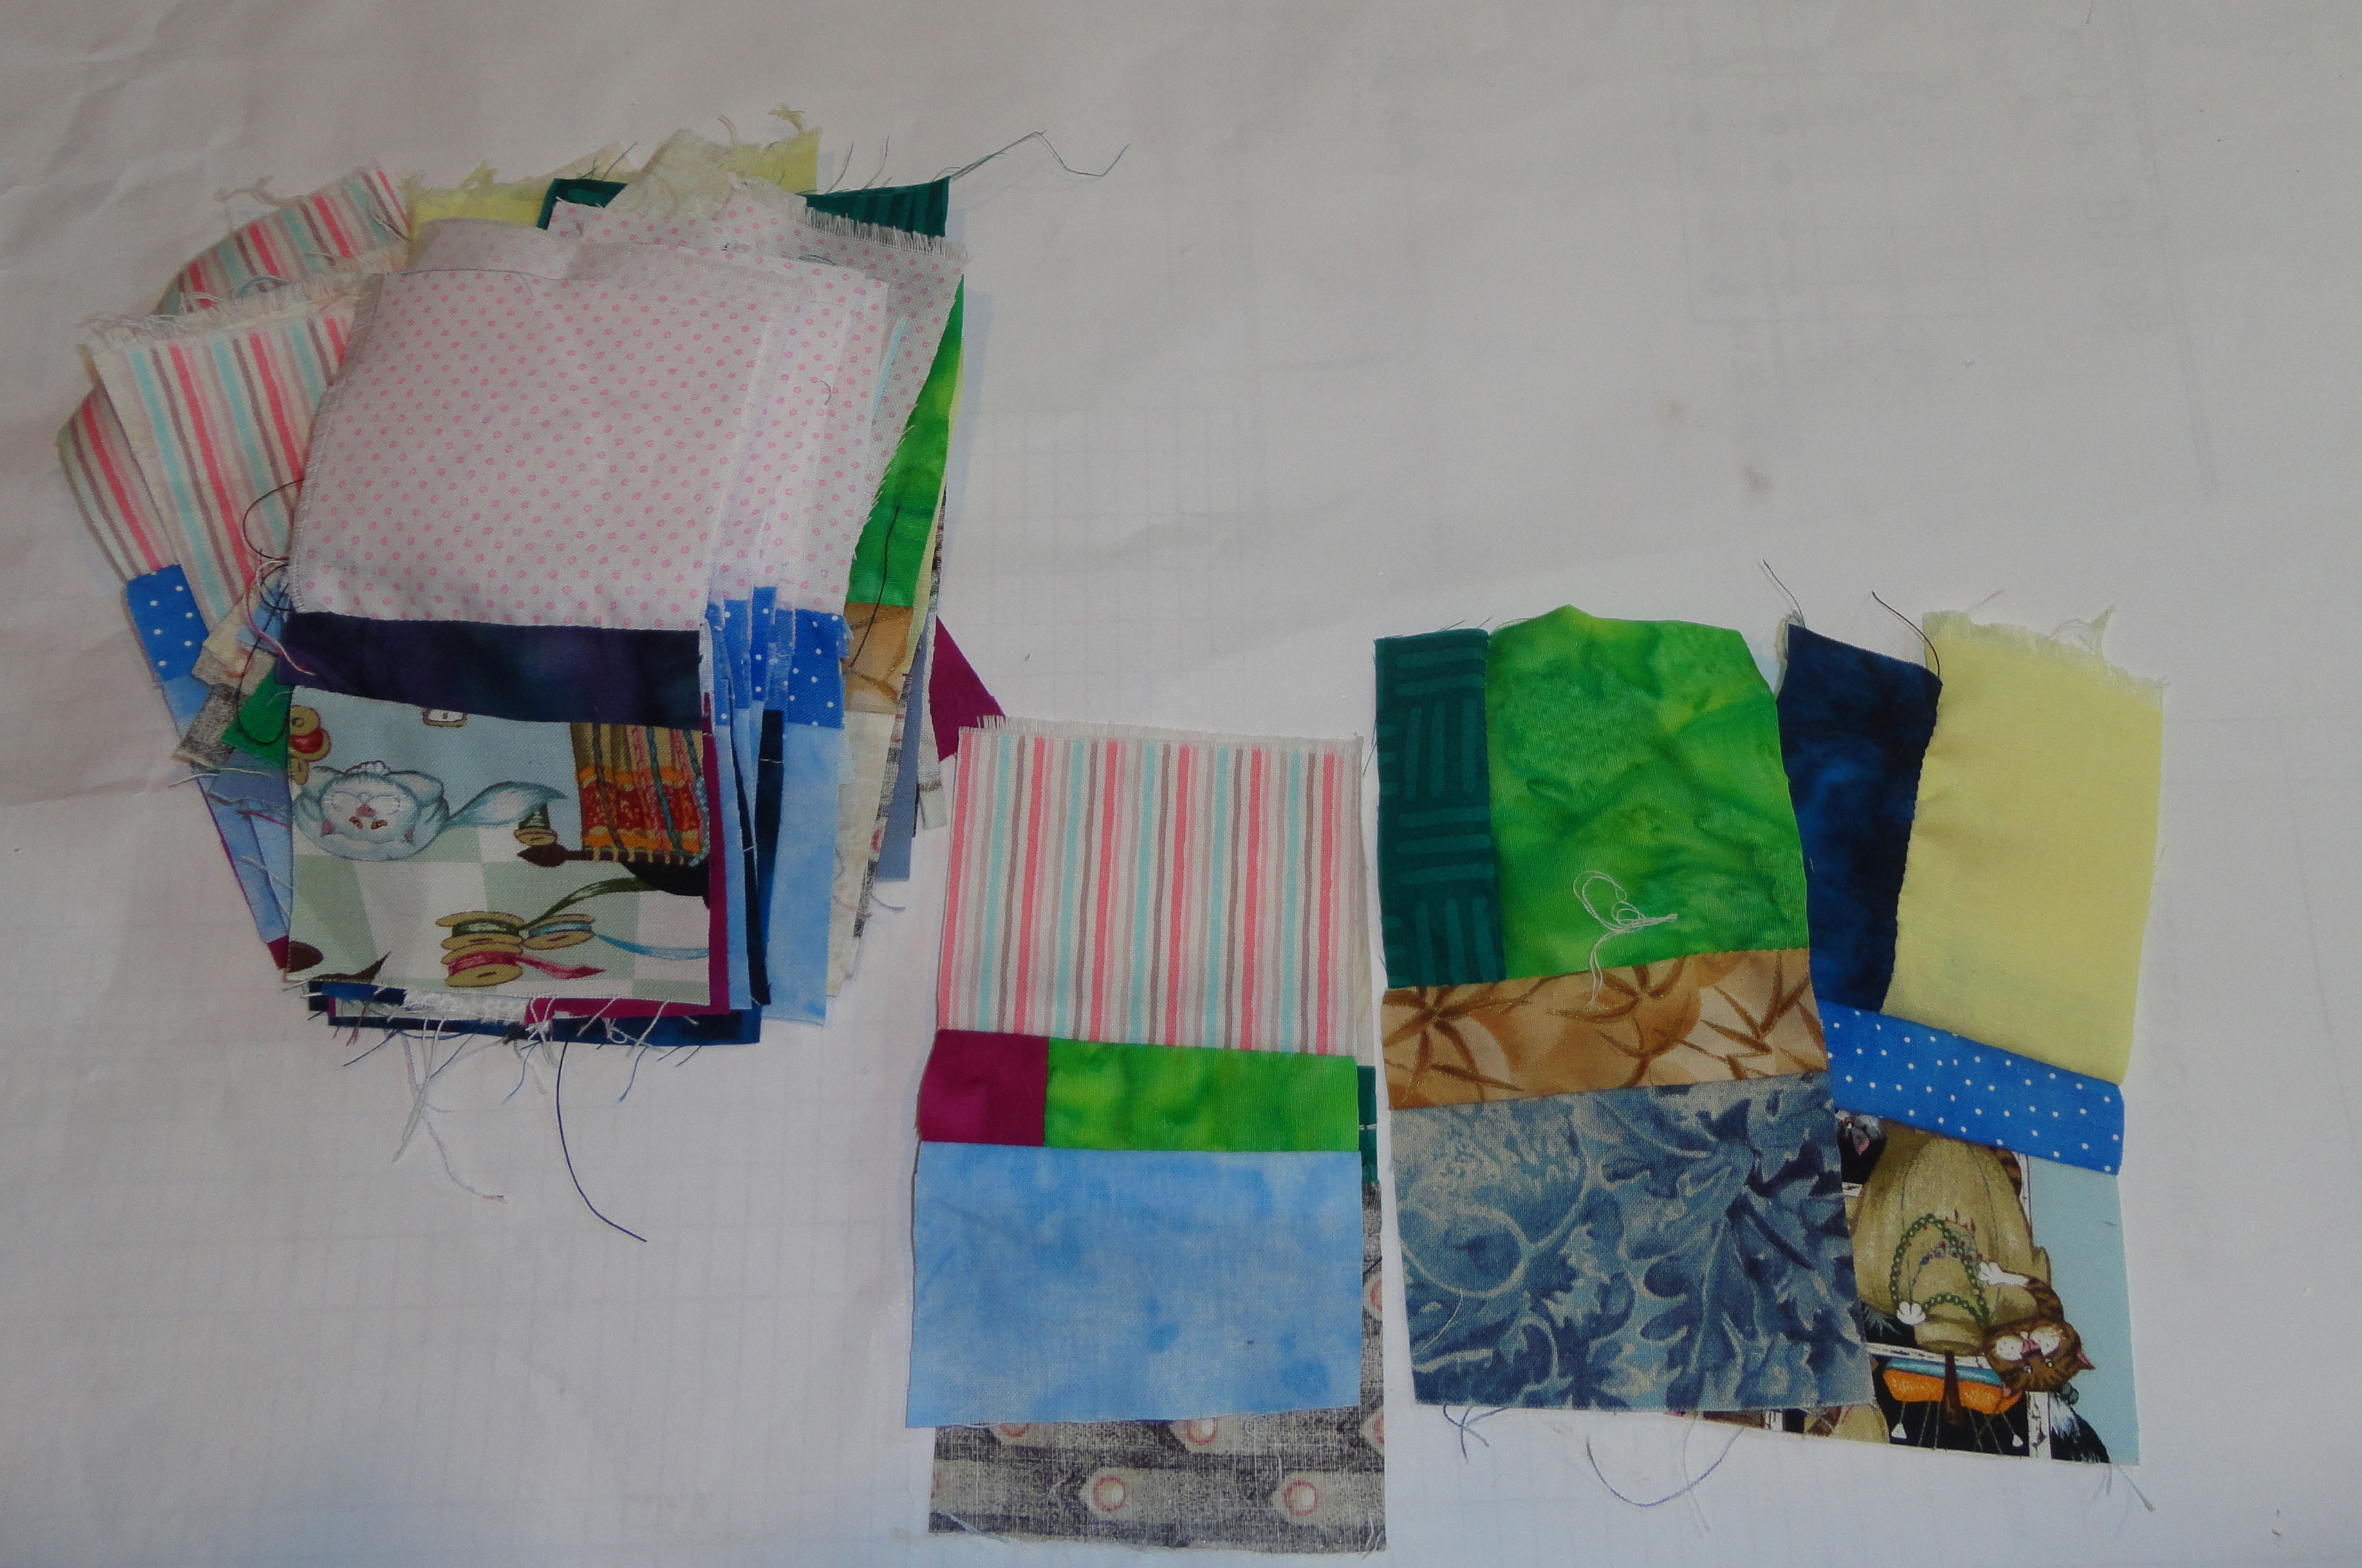
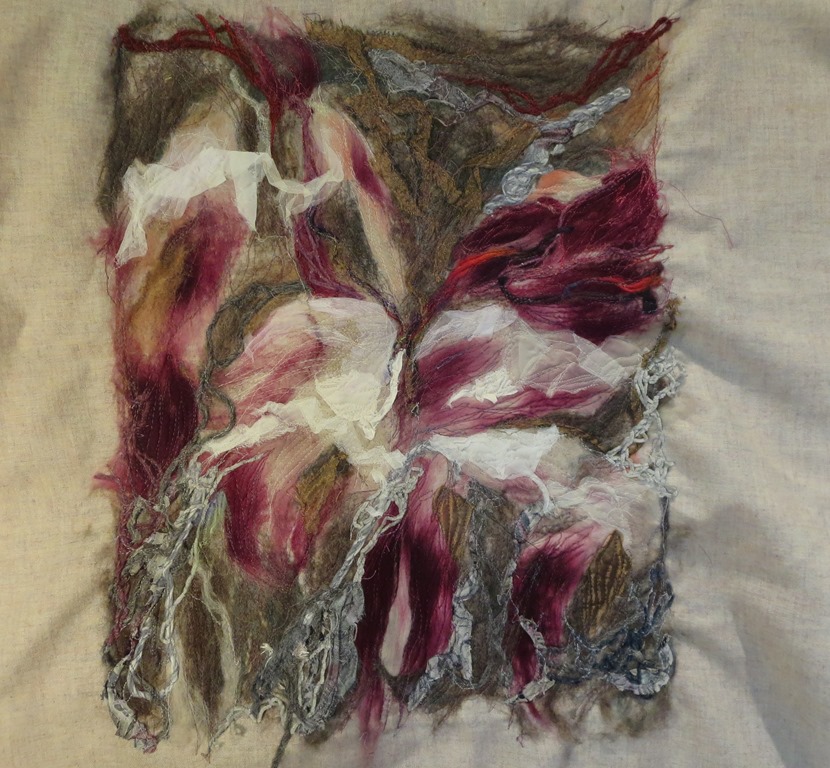 Coastal Colors I made progress on this piece this week. It is done as far as the machine work is concerned. But I am concerned about the ripple. The gals at the meetings all had great suggestions about how to deal with that and I learned from them.
 Hopefully I can stretch it well enough to get it flat. The bad news is I already laided out and started two more that I fear will have the same problem. But the next time I try to mix felting with machine drawing, I will know better then to put stiffener as a part of that step. It does not shrink at the same rate as the wool and that is the source of the problem we think.
Autumn Leaves  I am doing the free motion drawing of the vanes of the leaves now. I am having fun and I have learned how Mother Nature designs each species differently.
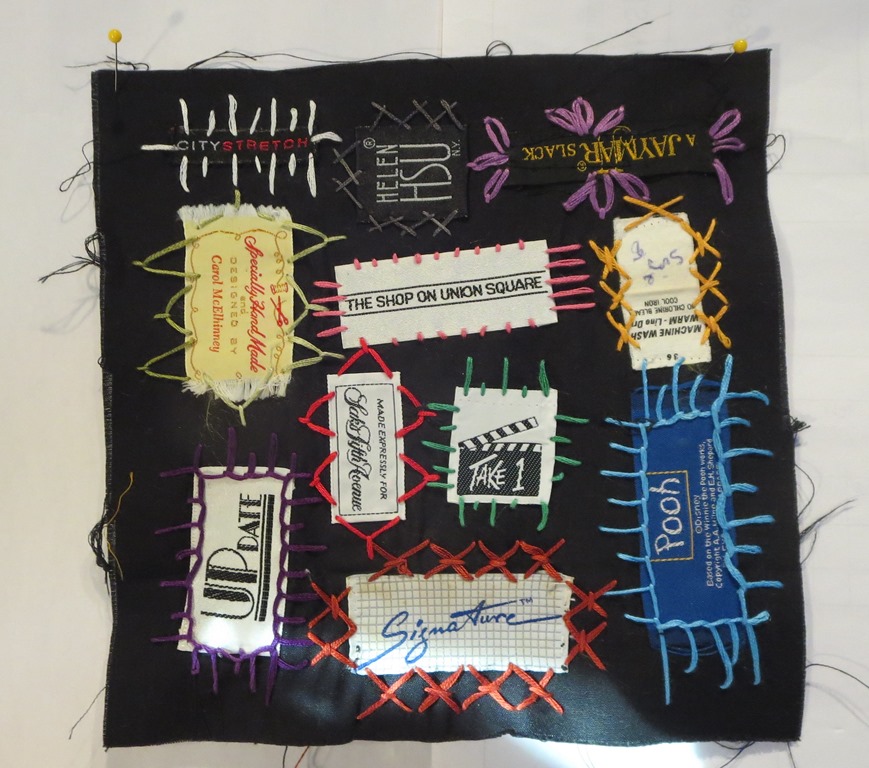 Label Block #34 I remember taking the Pooh label off a blanket for Alexis when she was little. She is 20 now. Do I hold onto things for a long time or what?
Keep Creating
Carol